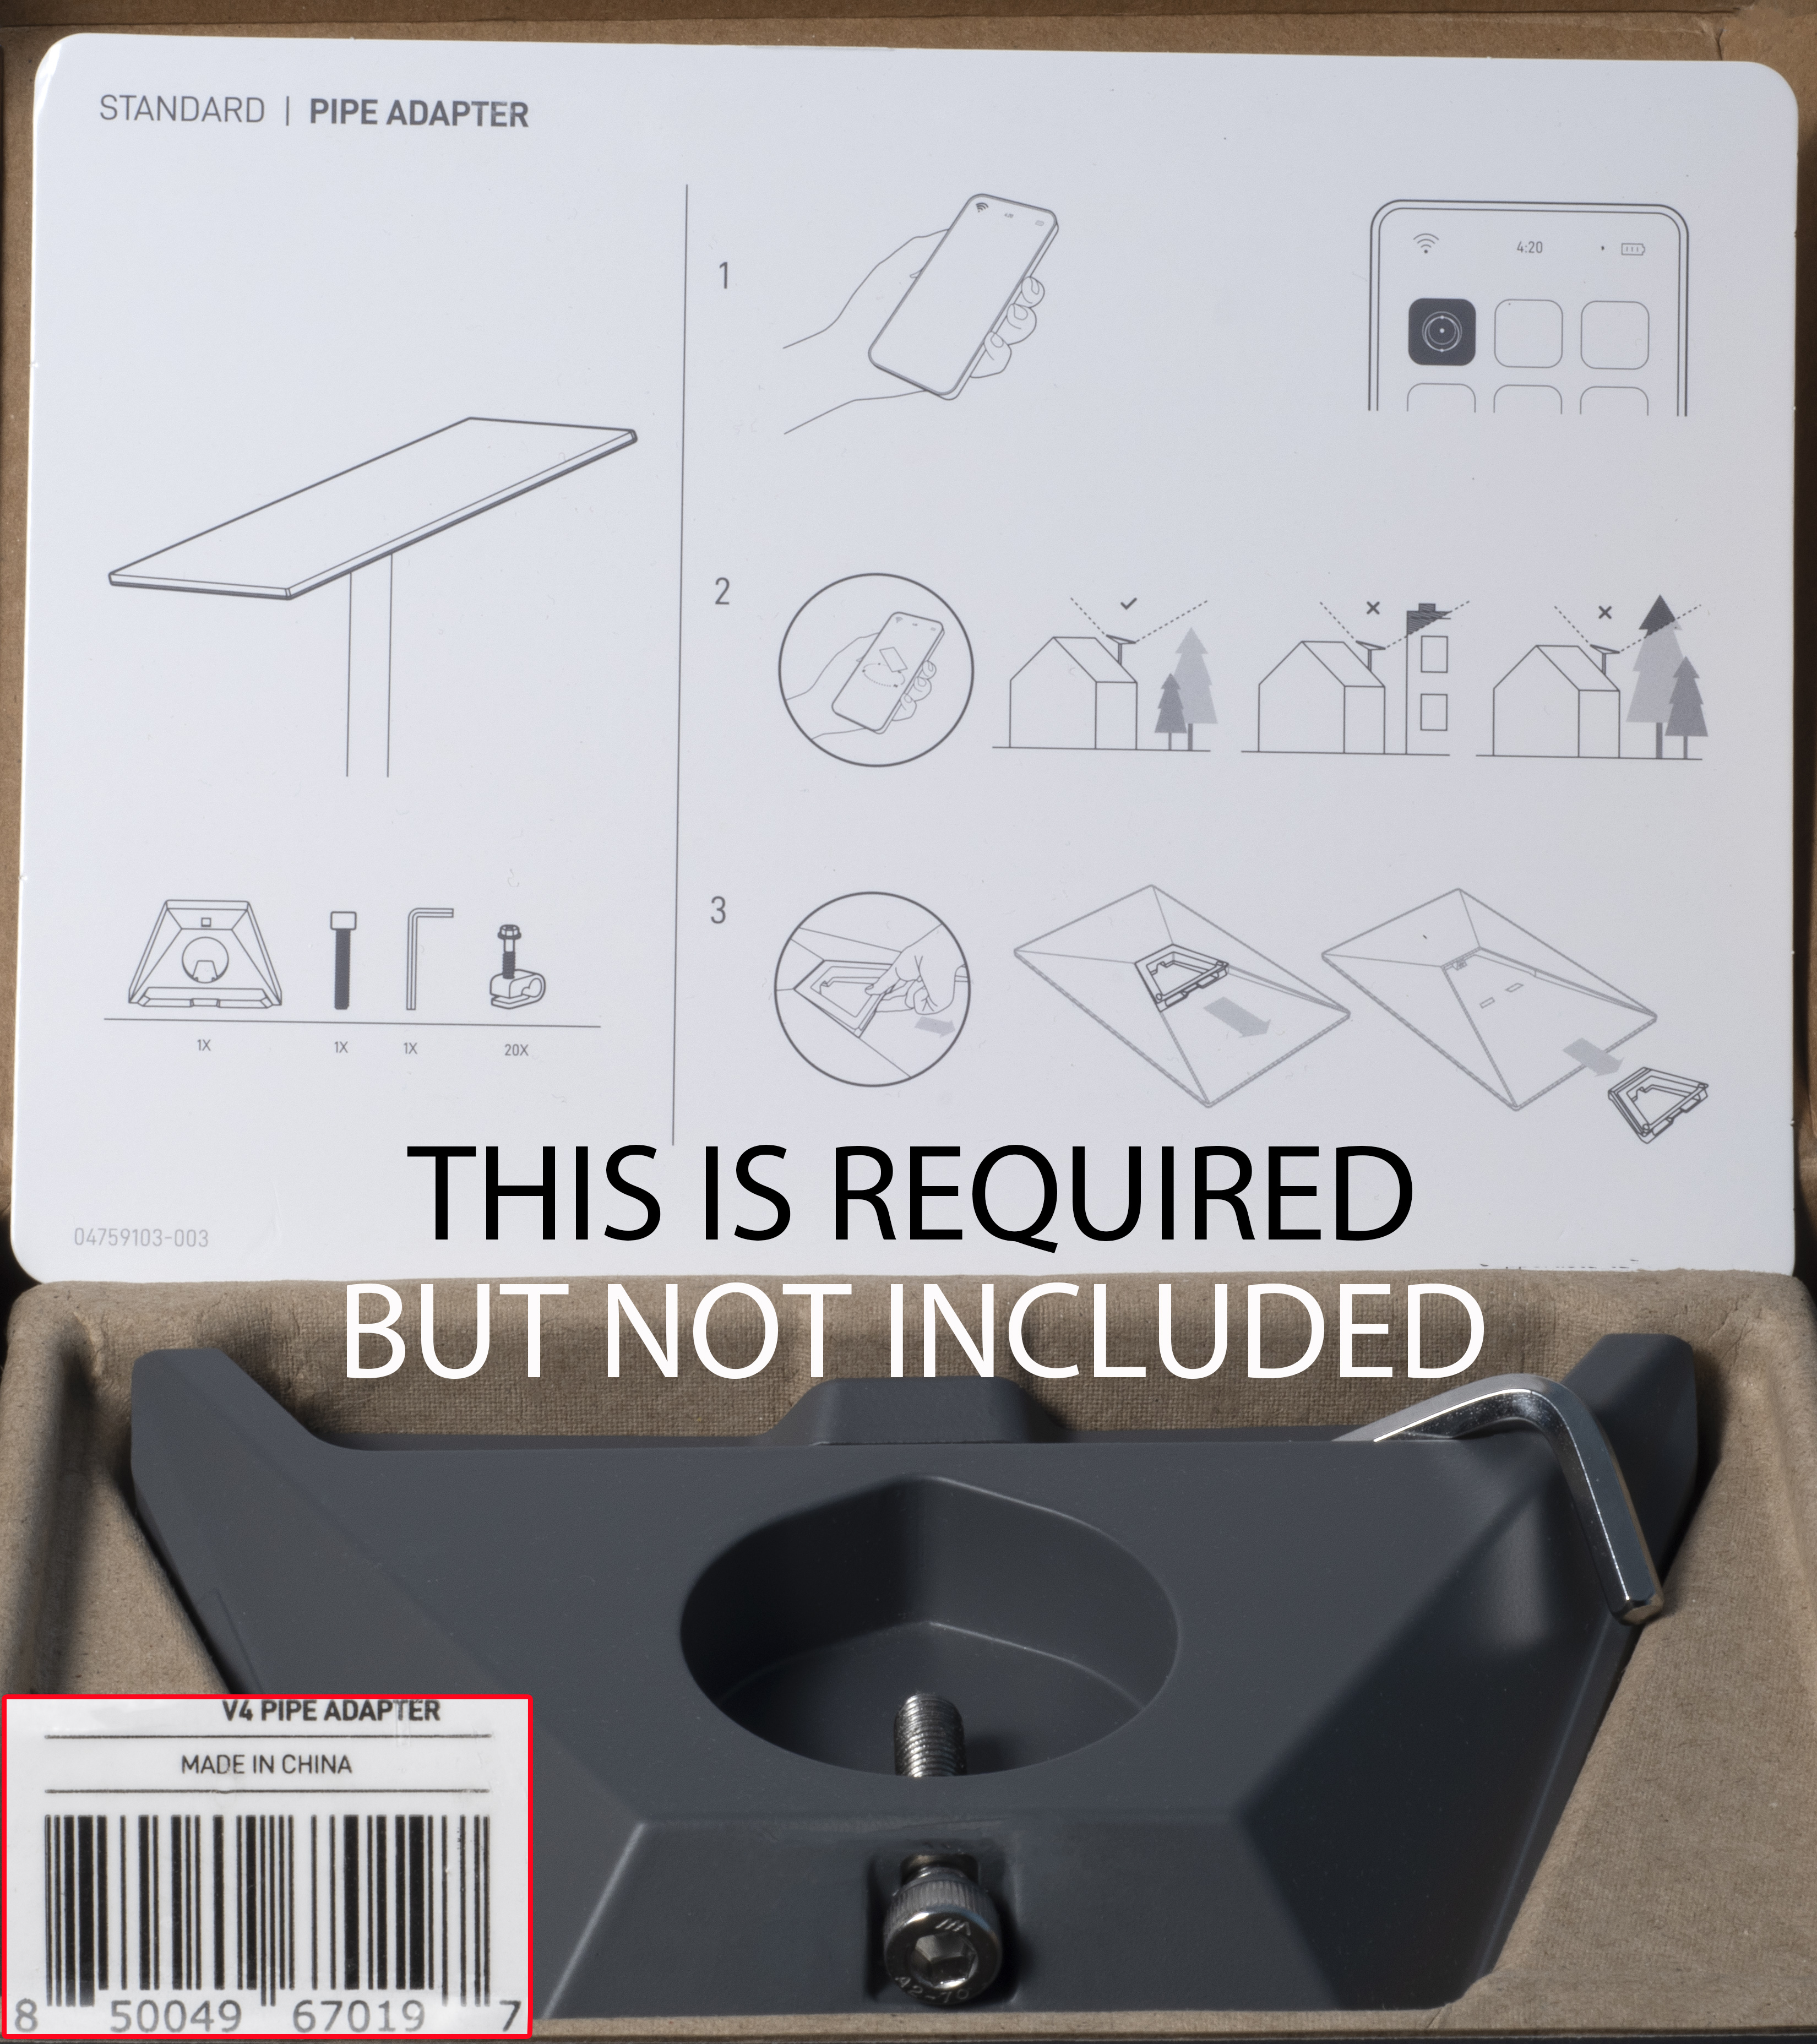
Just remember that you need the Starlink pole adapter kit as well.
Step By Step Install (please note if you have done other bushing installs in the past especially ones from me, the steps are different this time. This will be significantly easier if two people are doing this)
Drill out the 2 rivets and remove the adapter for v2, till you have what is shown below
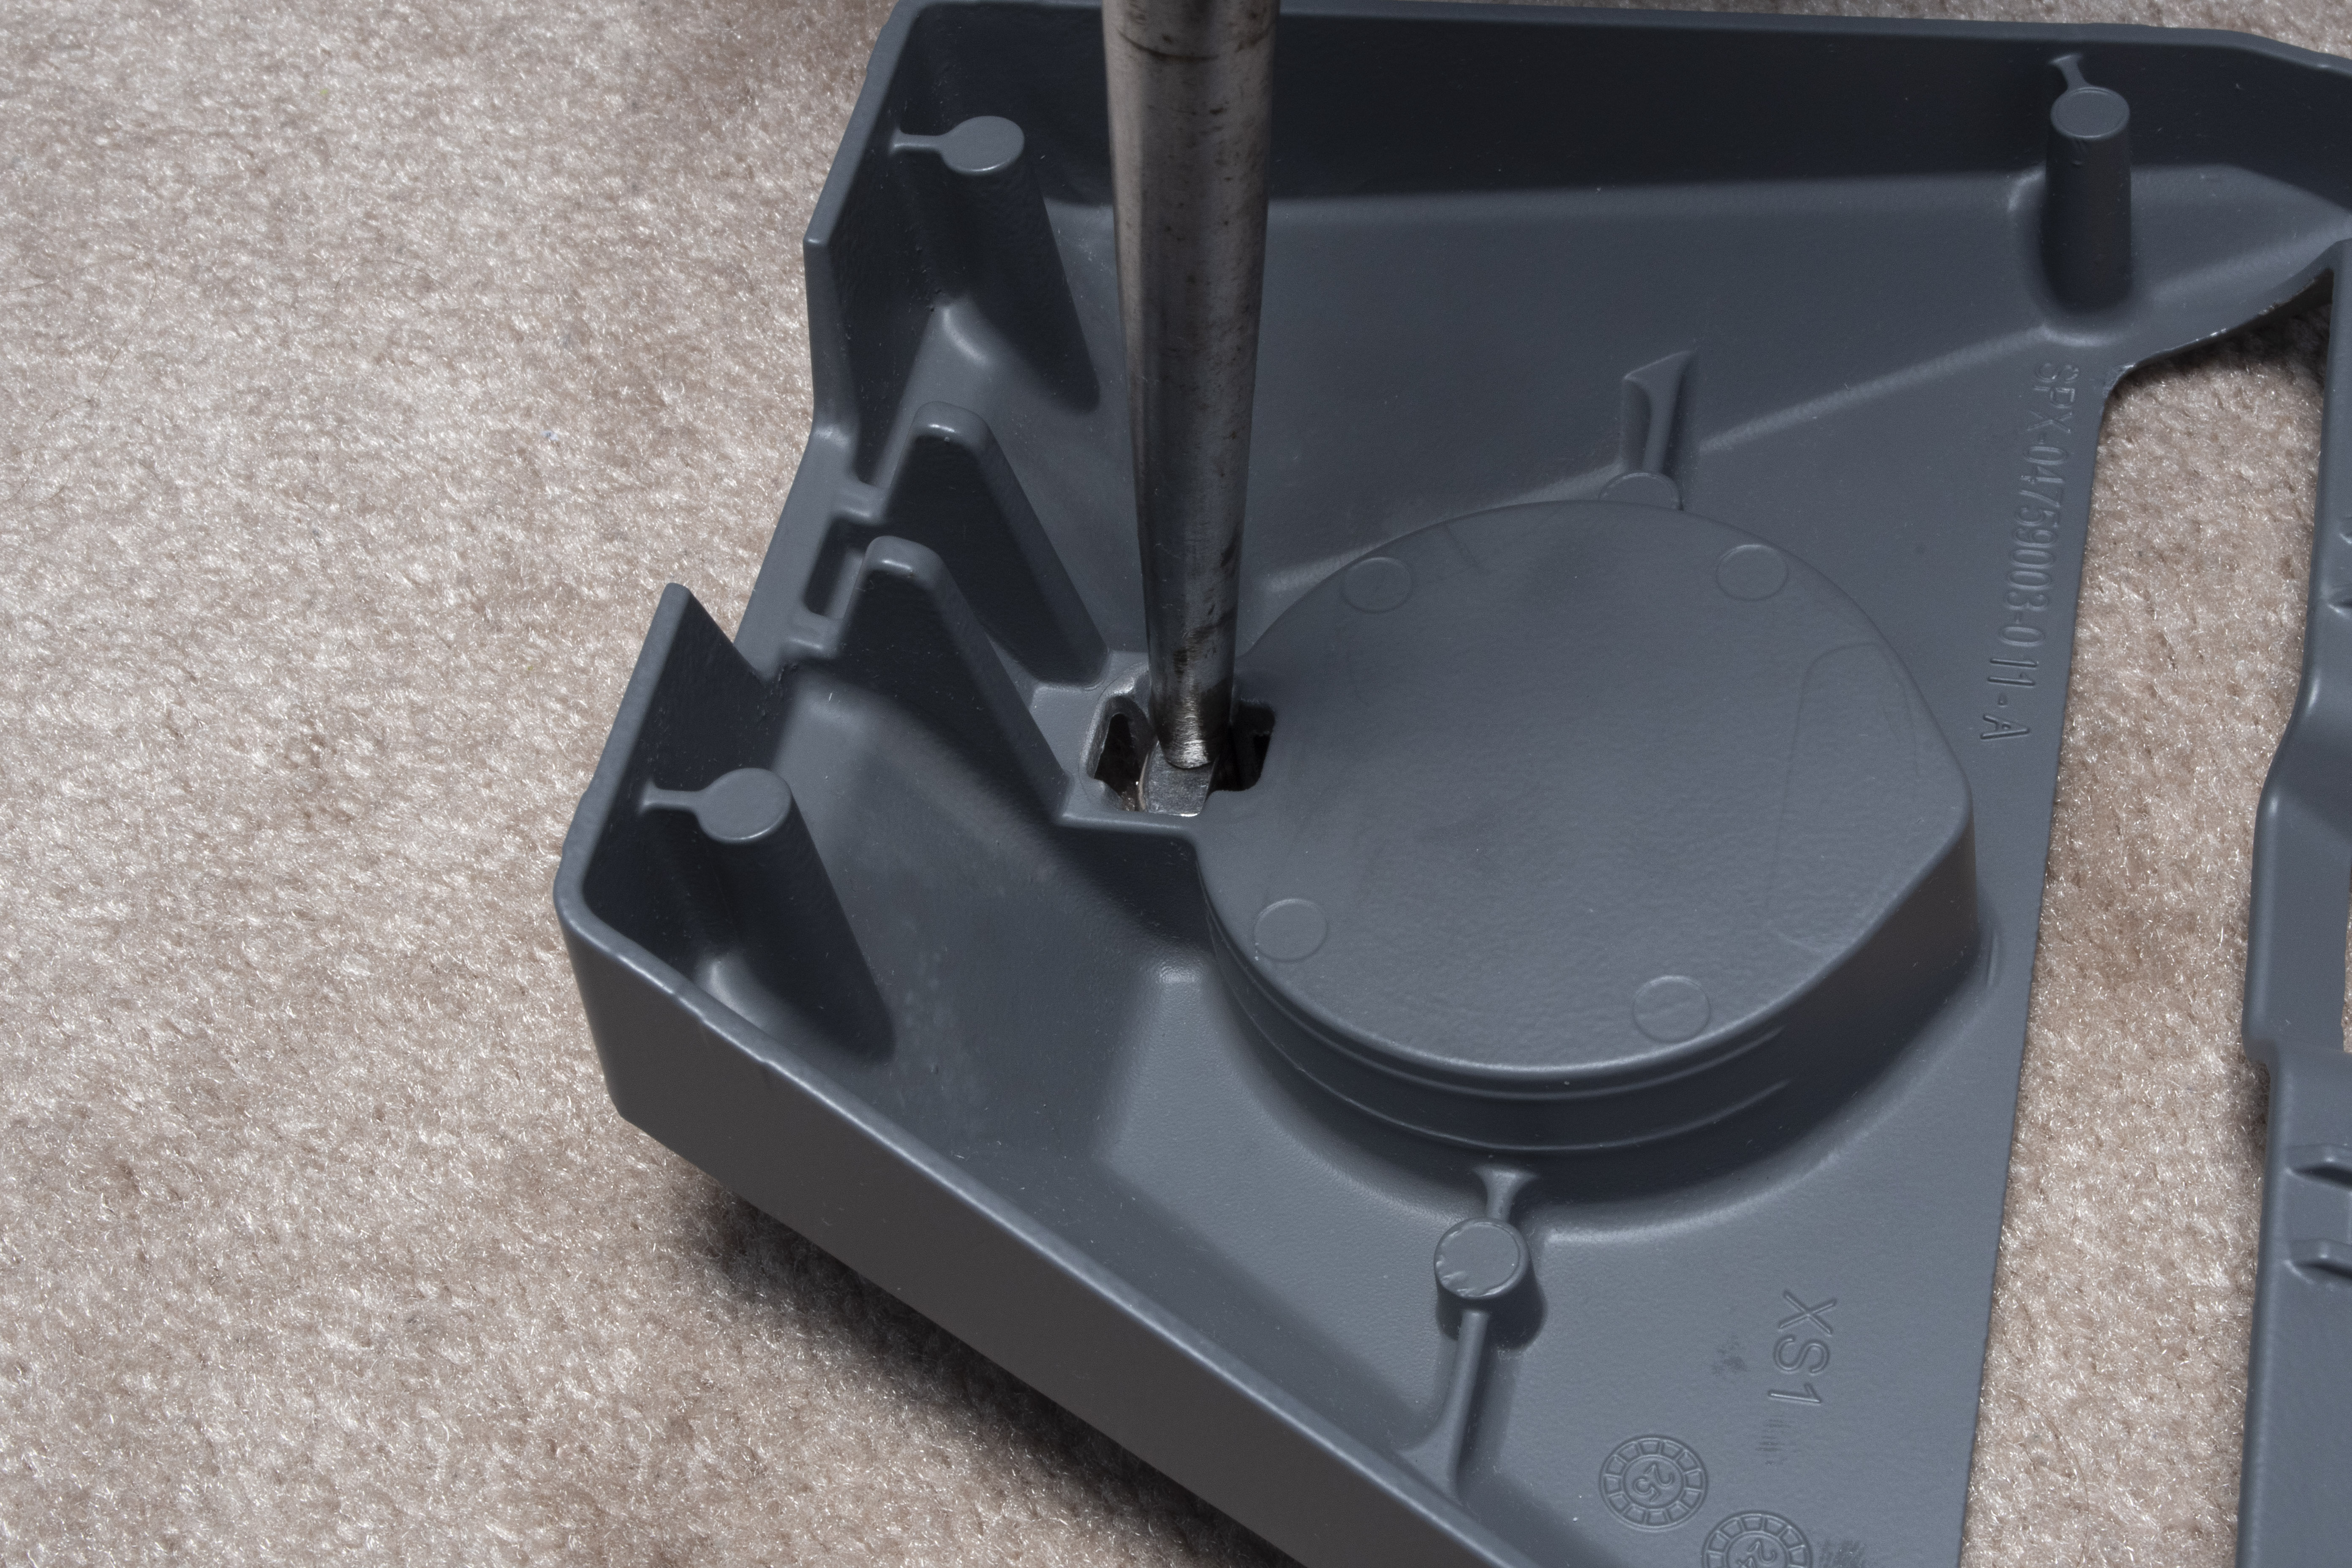
Remove the pole adapter from the box, turn it upside down and look for the nut that is sitting inside of the bracket. Take a punch or a flat headed screwdriver and make sure that the nut is fully seated against the bottom of the pole adapter.
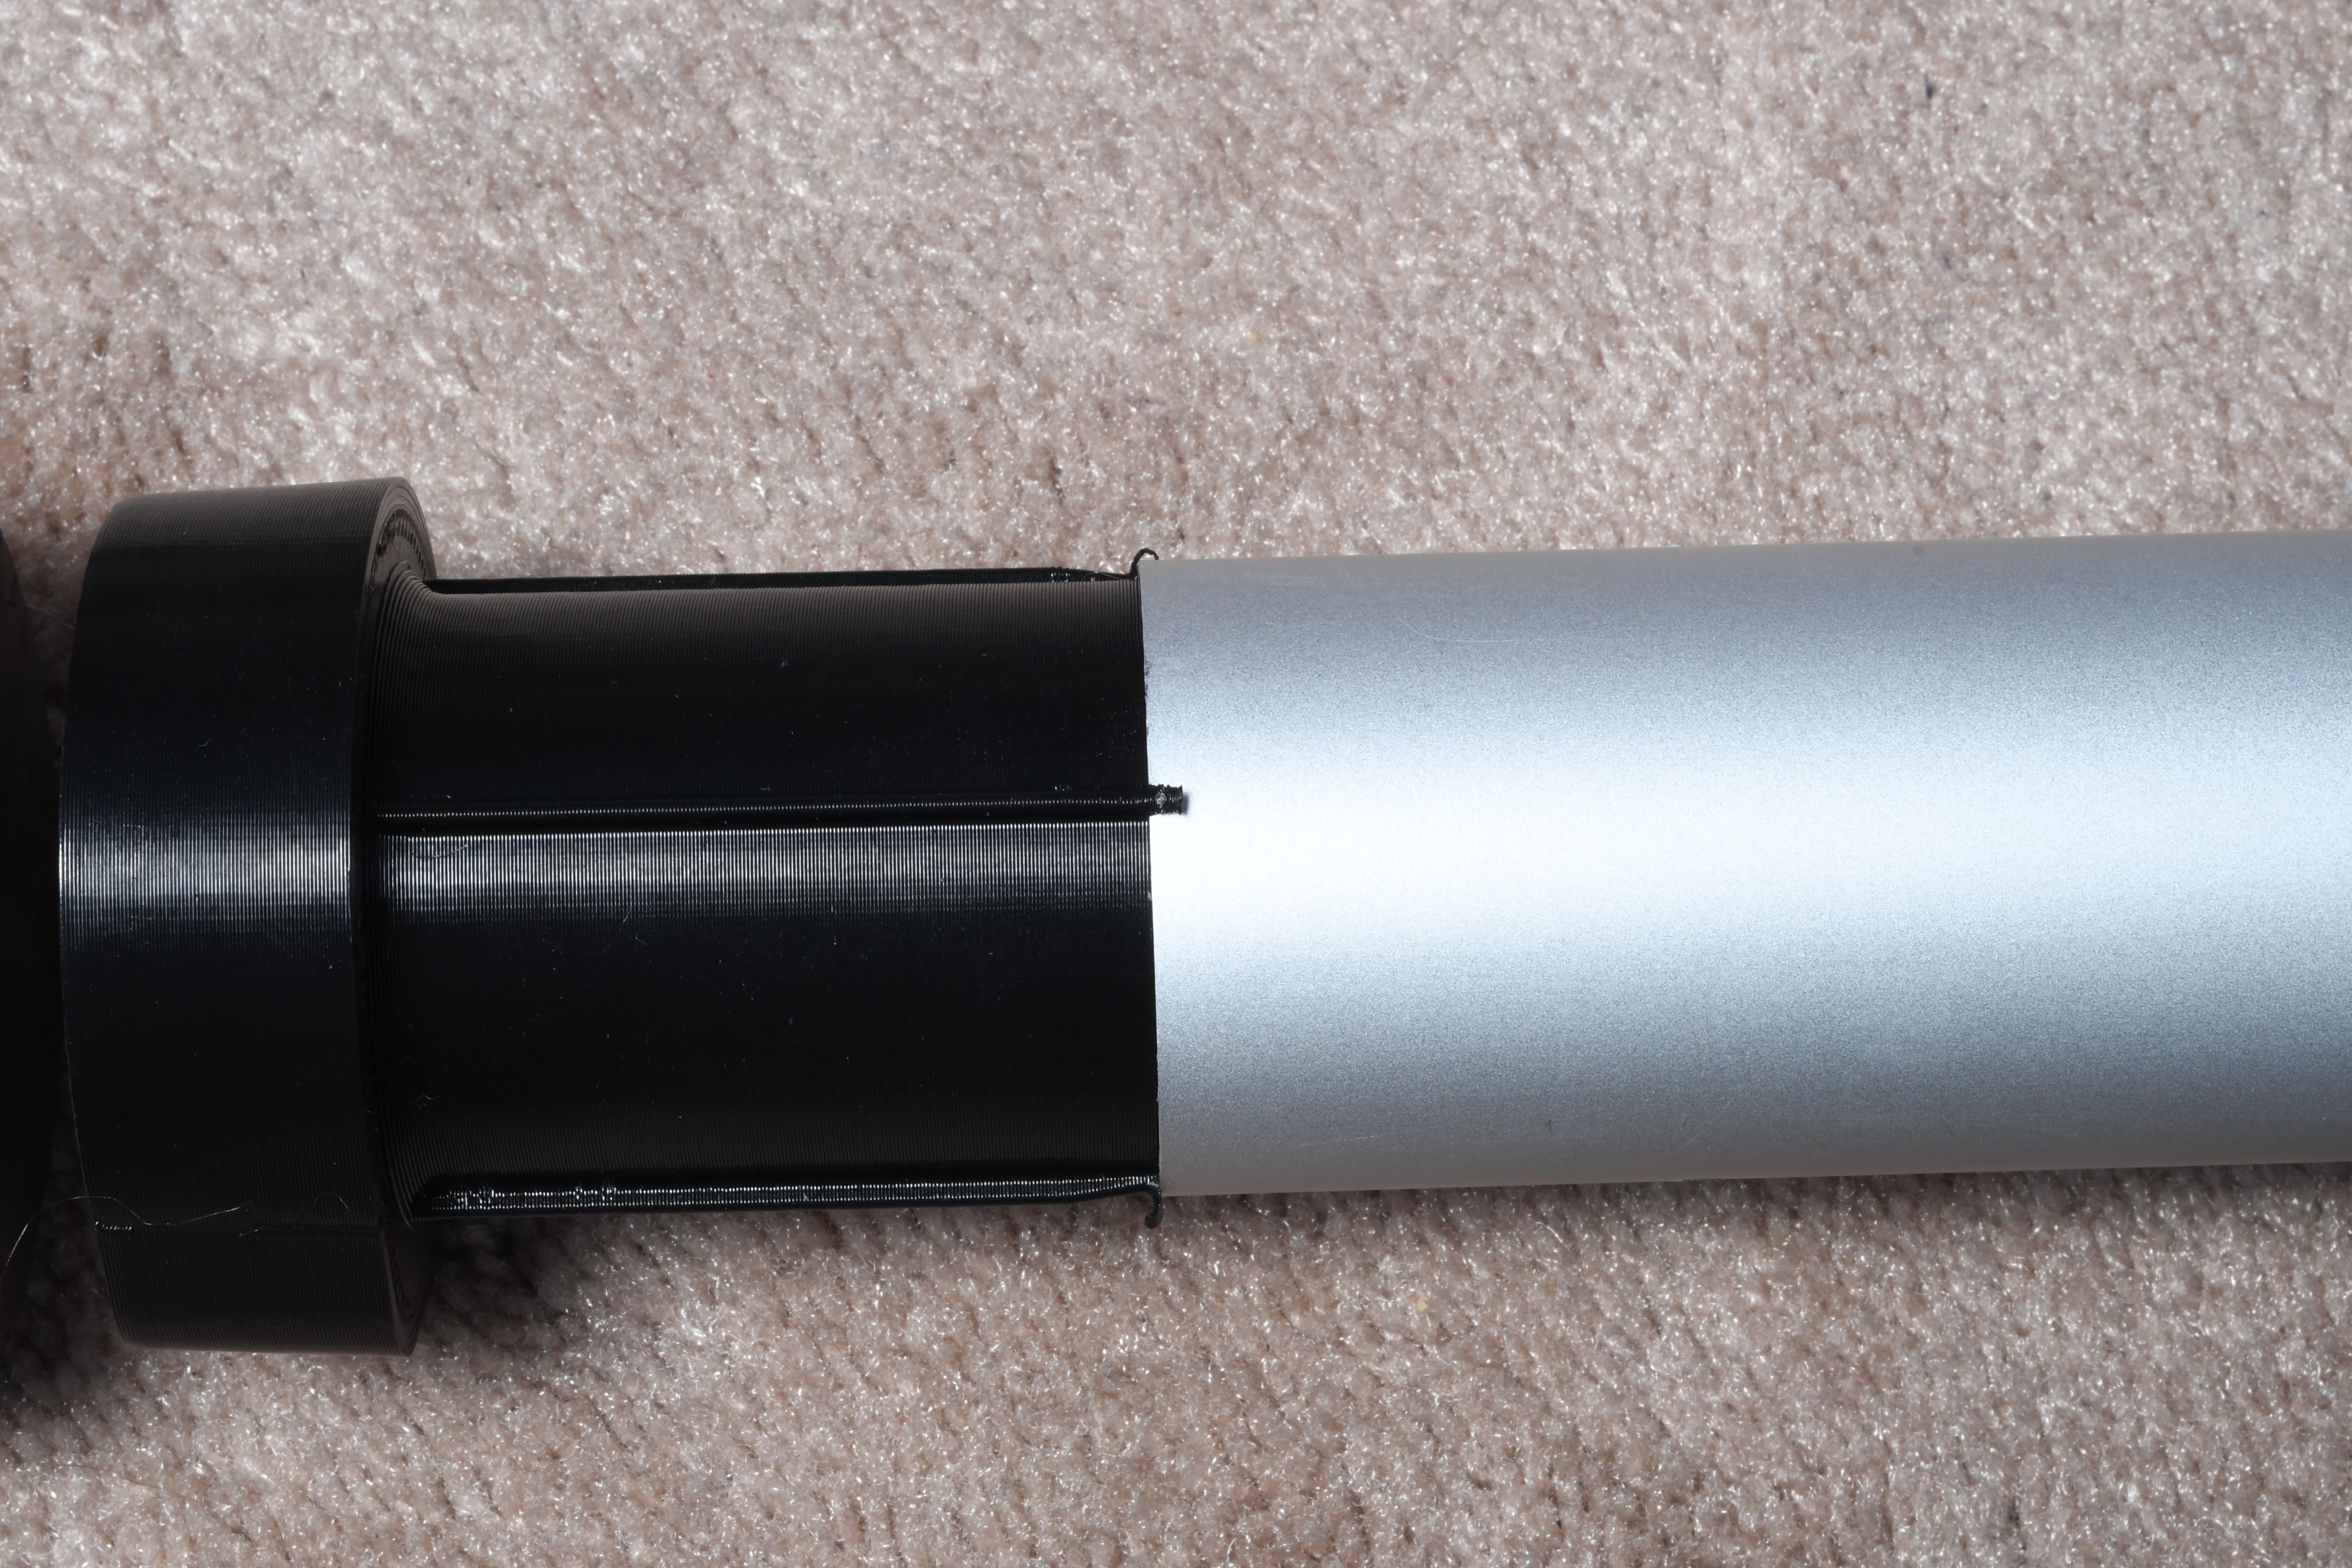
Line up the bushing with the pole making sure that you are straight as possible. You are going to lightly tap the bushing with a rubber mallet until you have just started to cut the plastic

Now take the pole mount adapter from Starlink and remove the big bolt if it hasn’t already been removed. Place it over the plastic bushing and we are going to hammer from the backside of the Starlink metal plate with a rubber hammer. This is generally where you need two people.
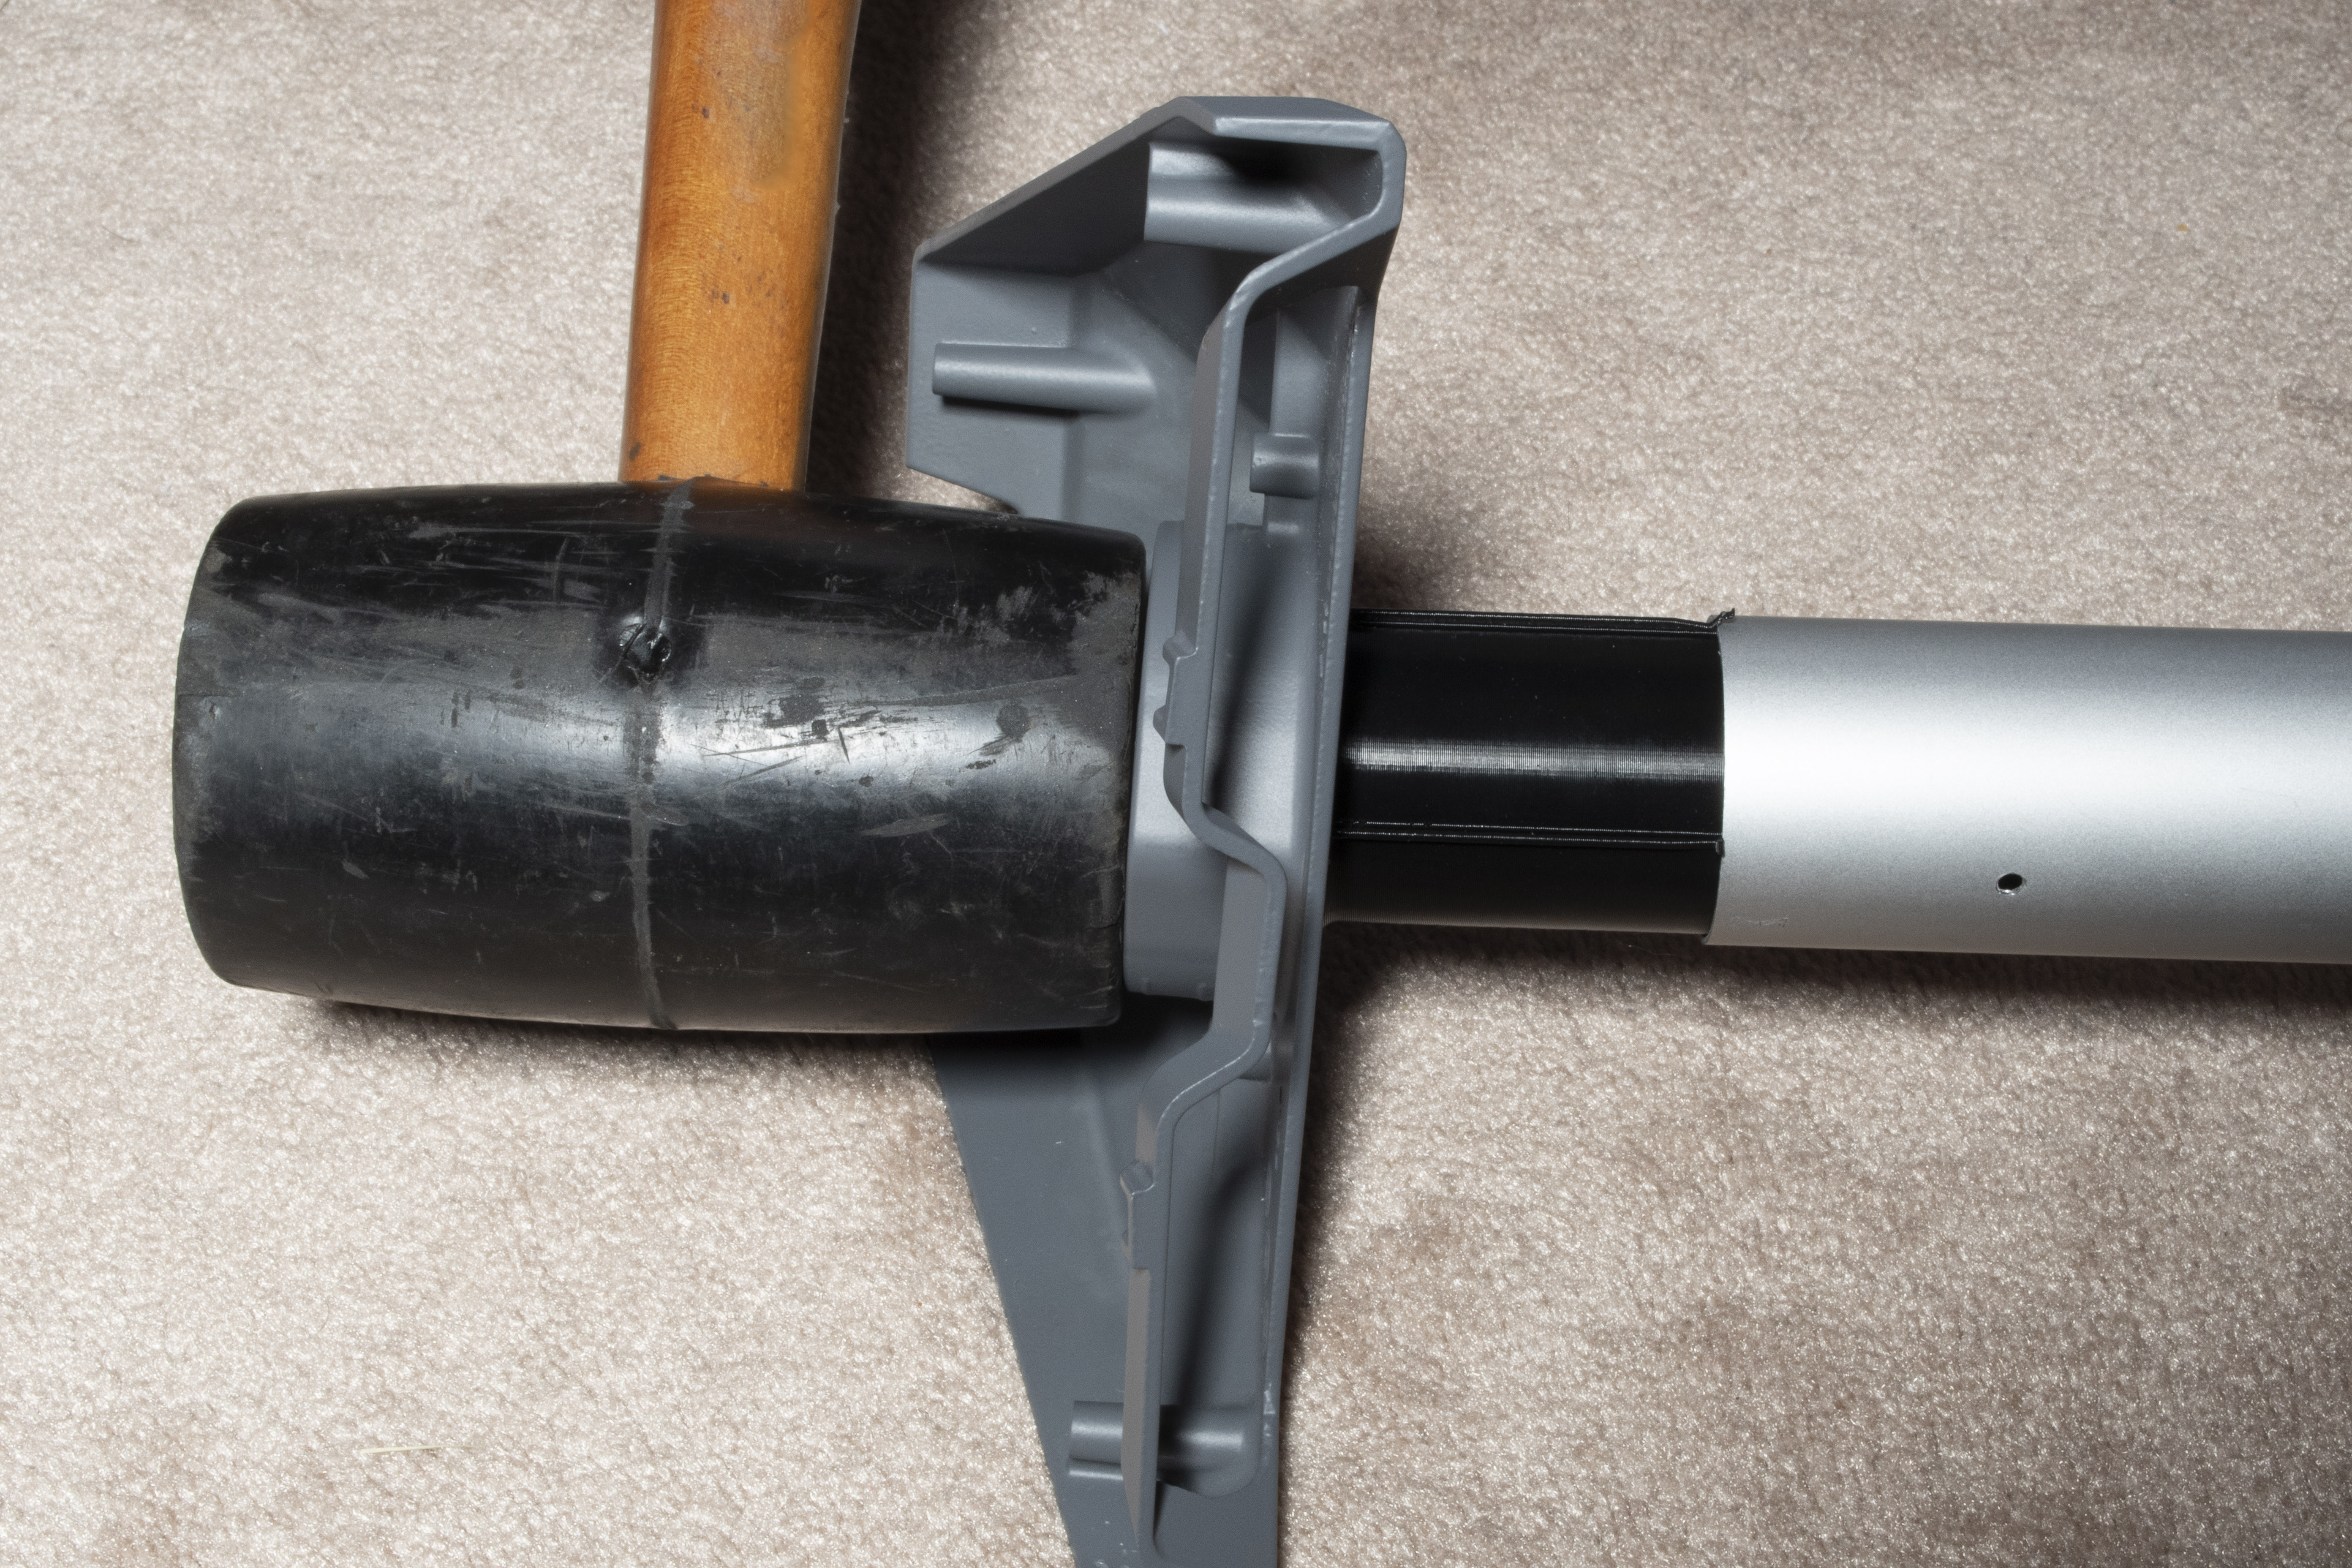
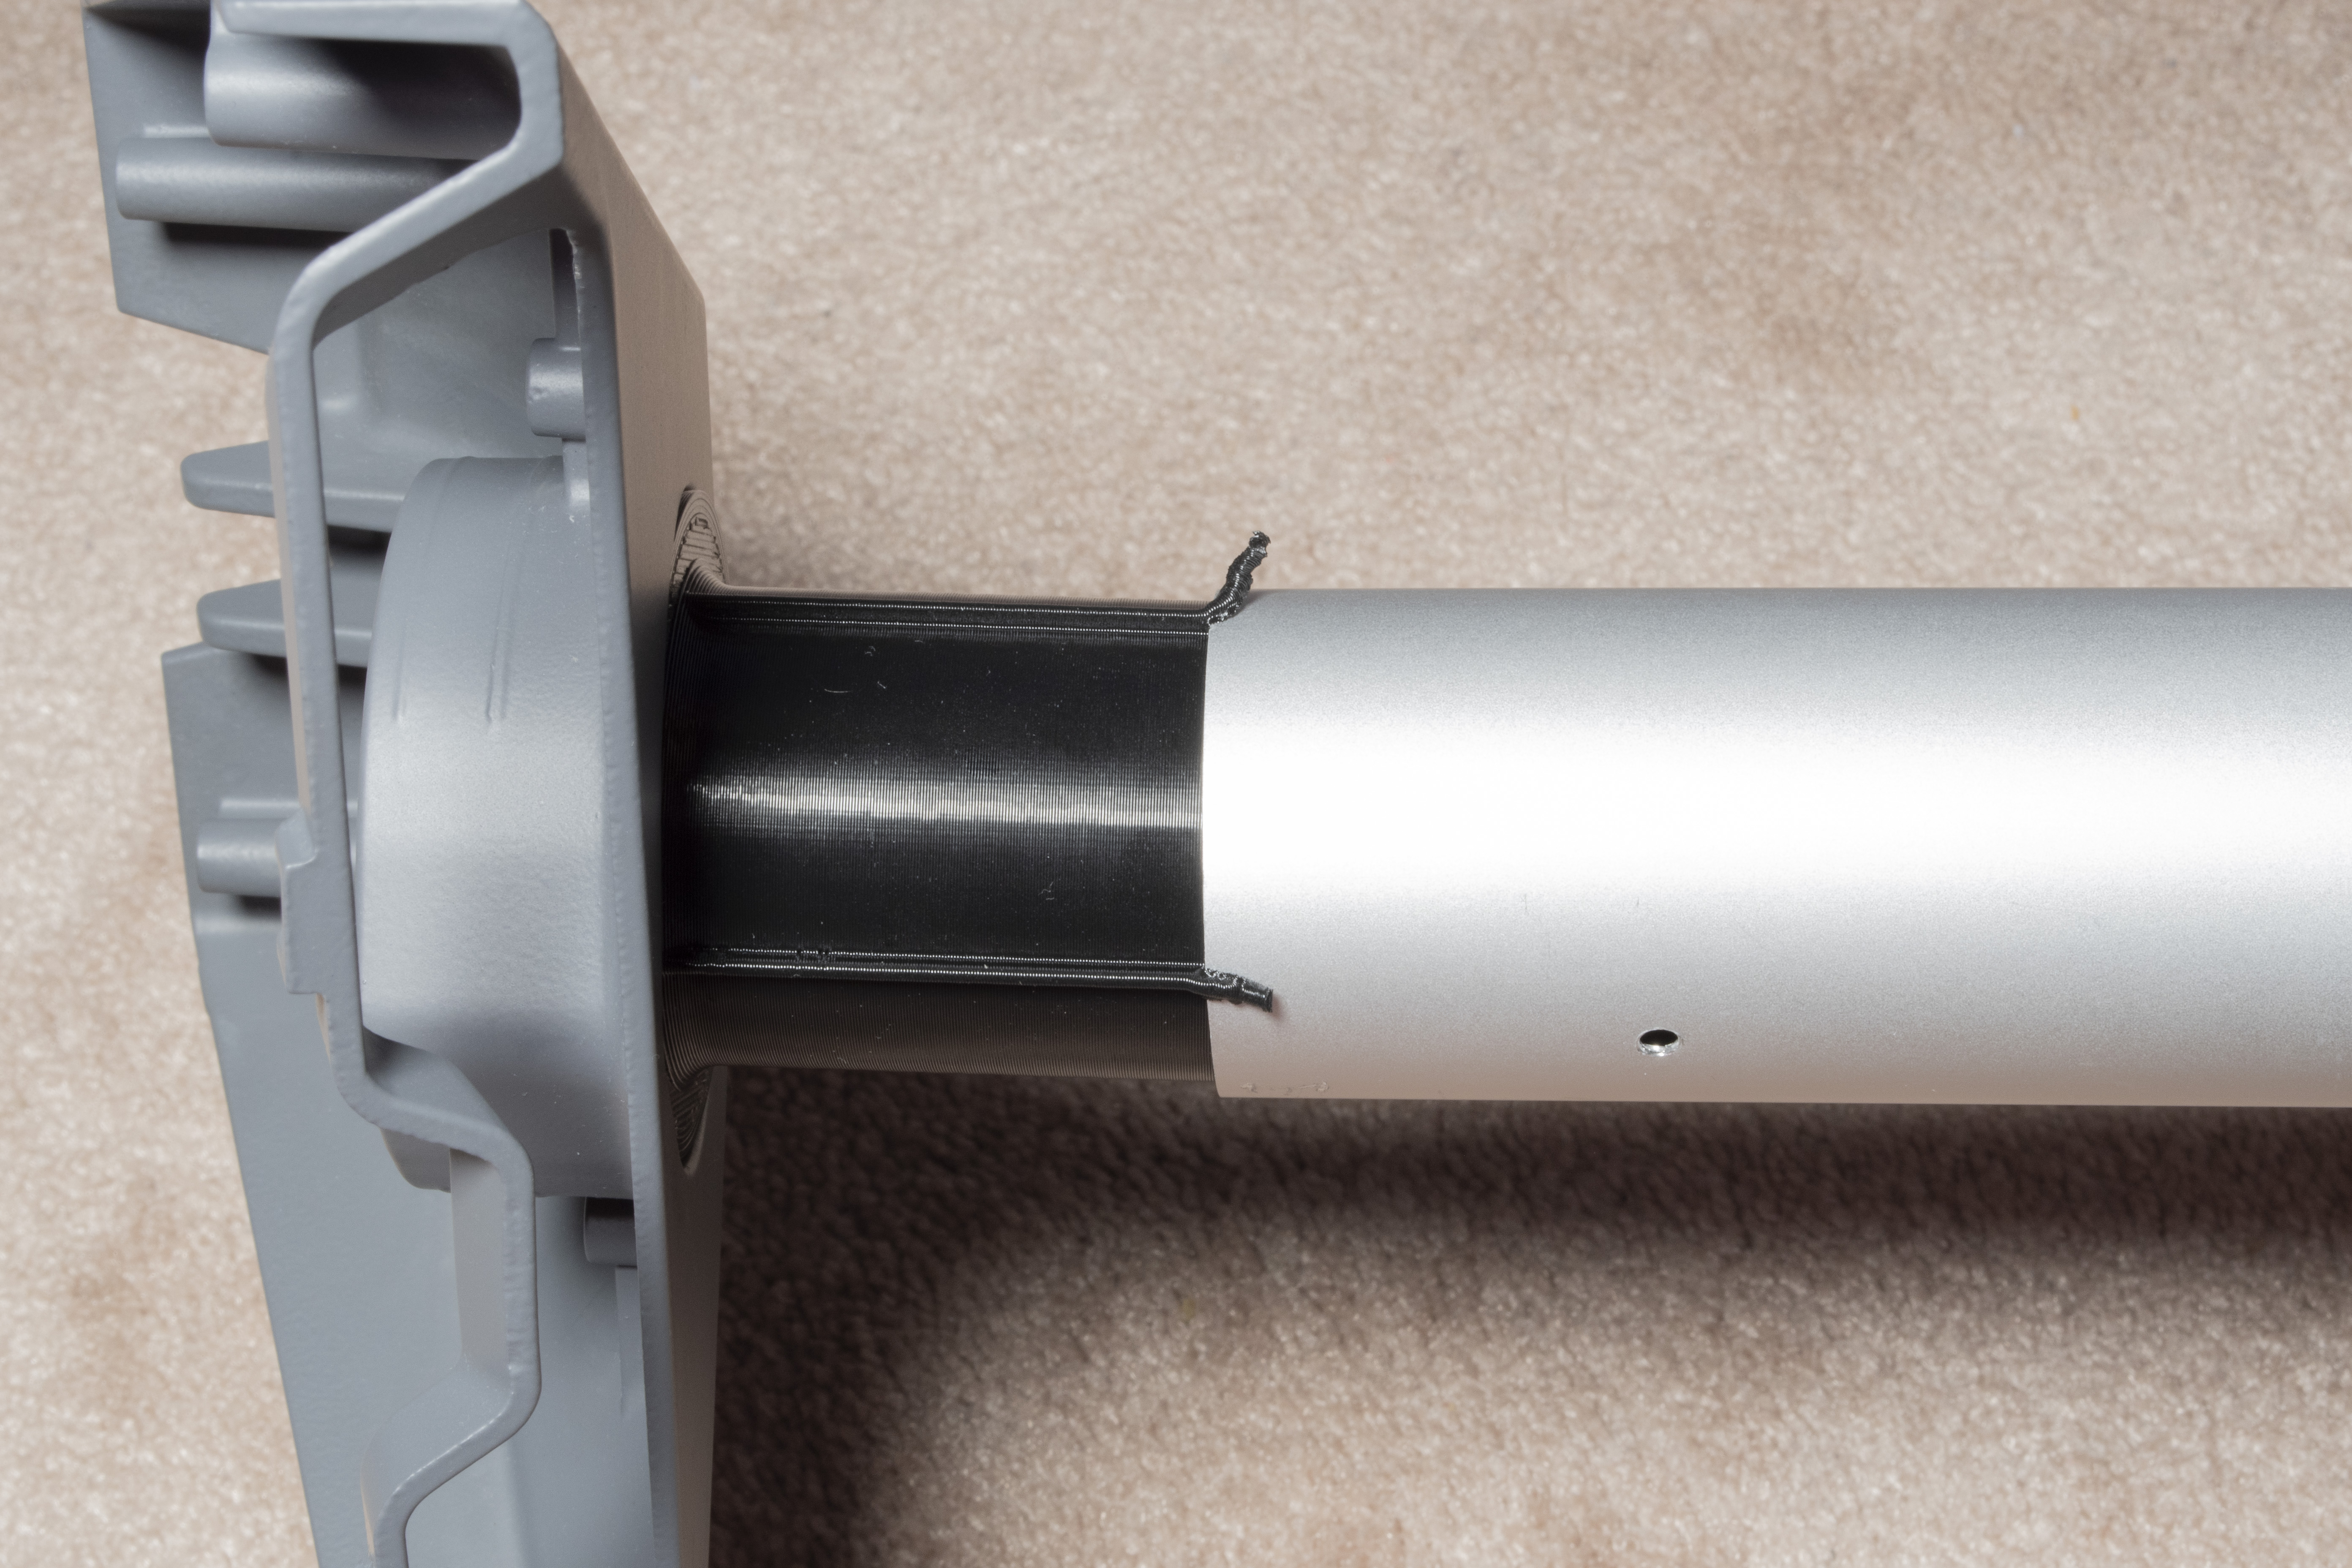
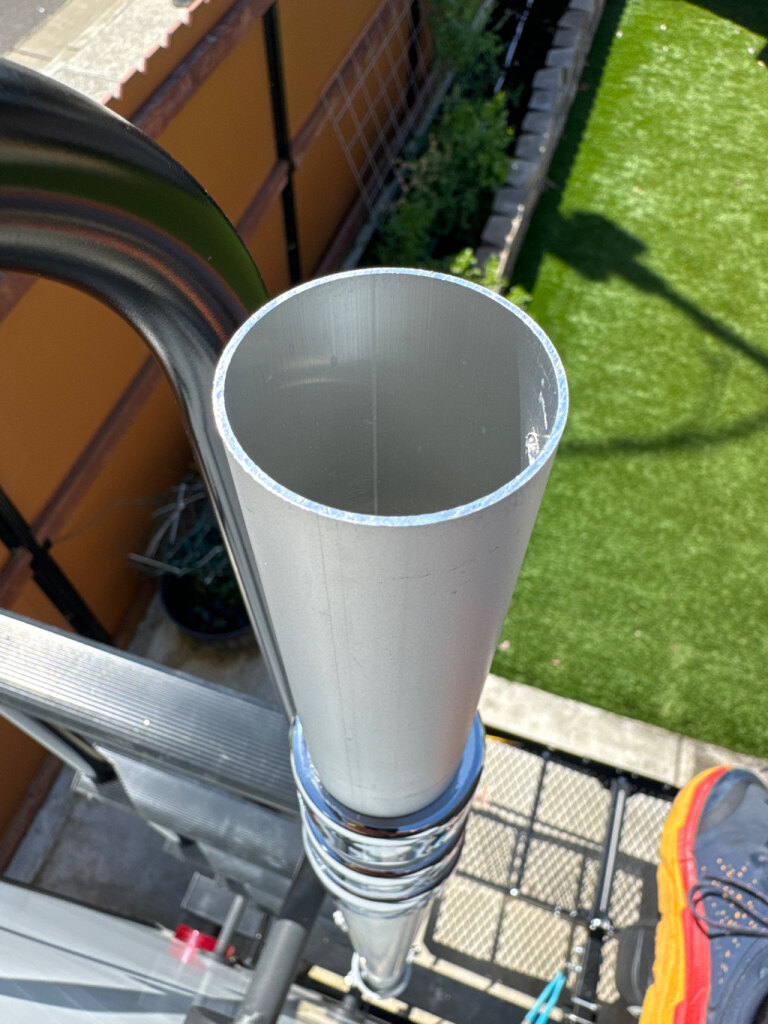
Just hammer the bushing in, taking your time to make sure that everything is going straight and that the ridges are being cut off cleanly and evenly on the bushing. You’re not going to bottom this out, you are going to stop when there is almost no ridges left as shown in the second photo below.
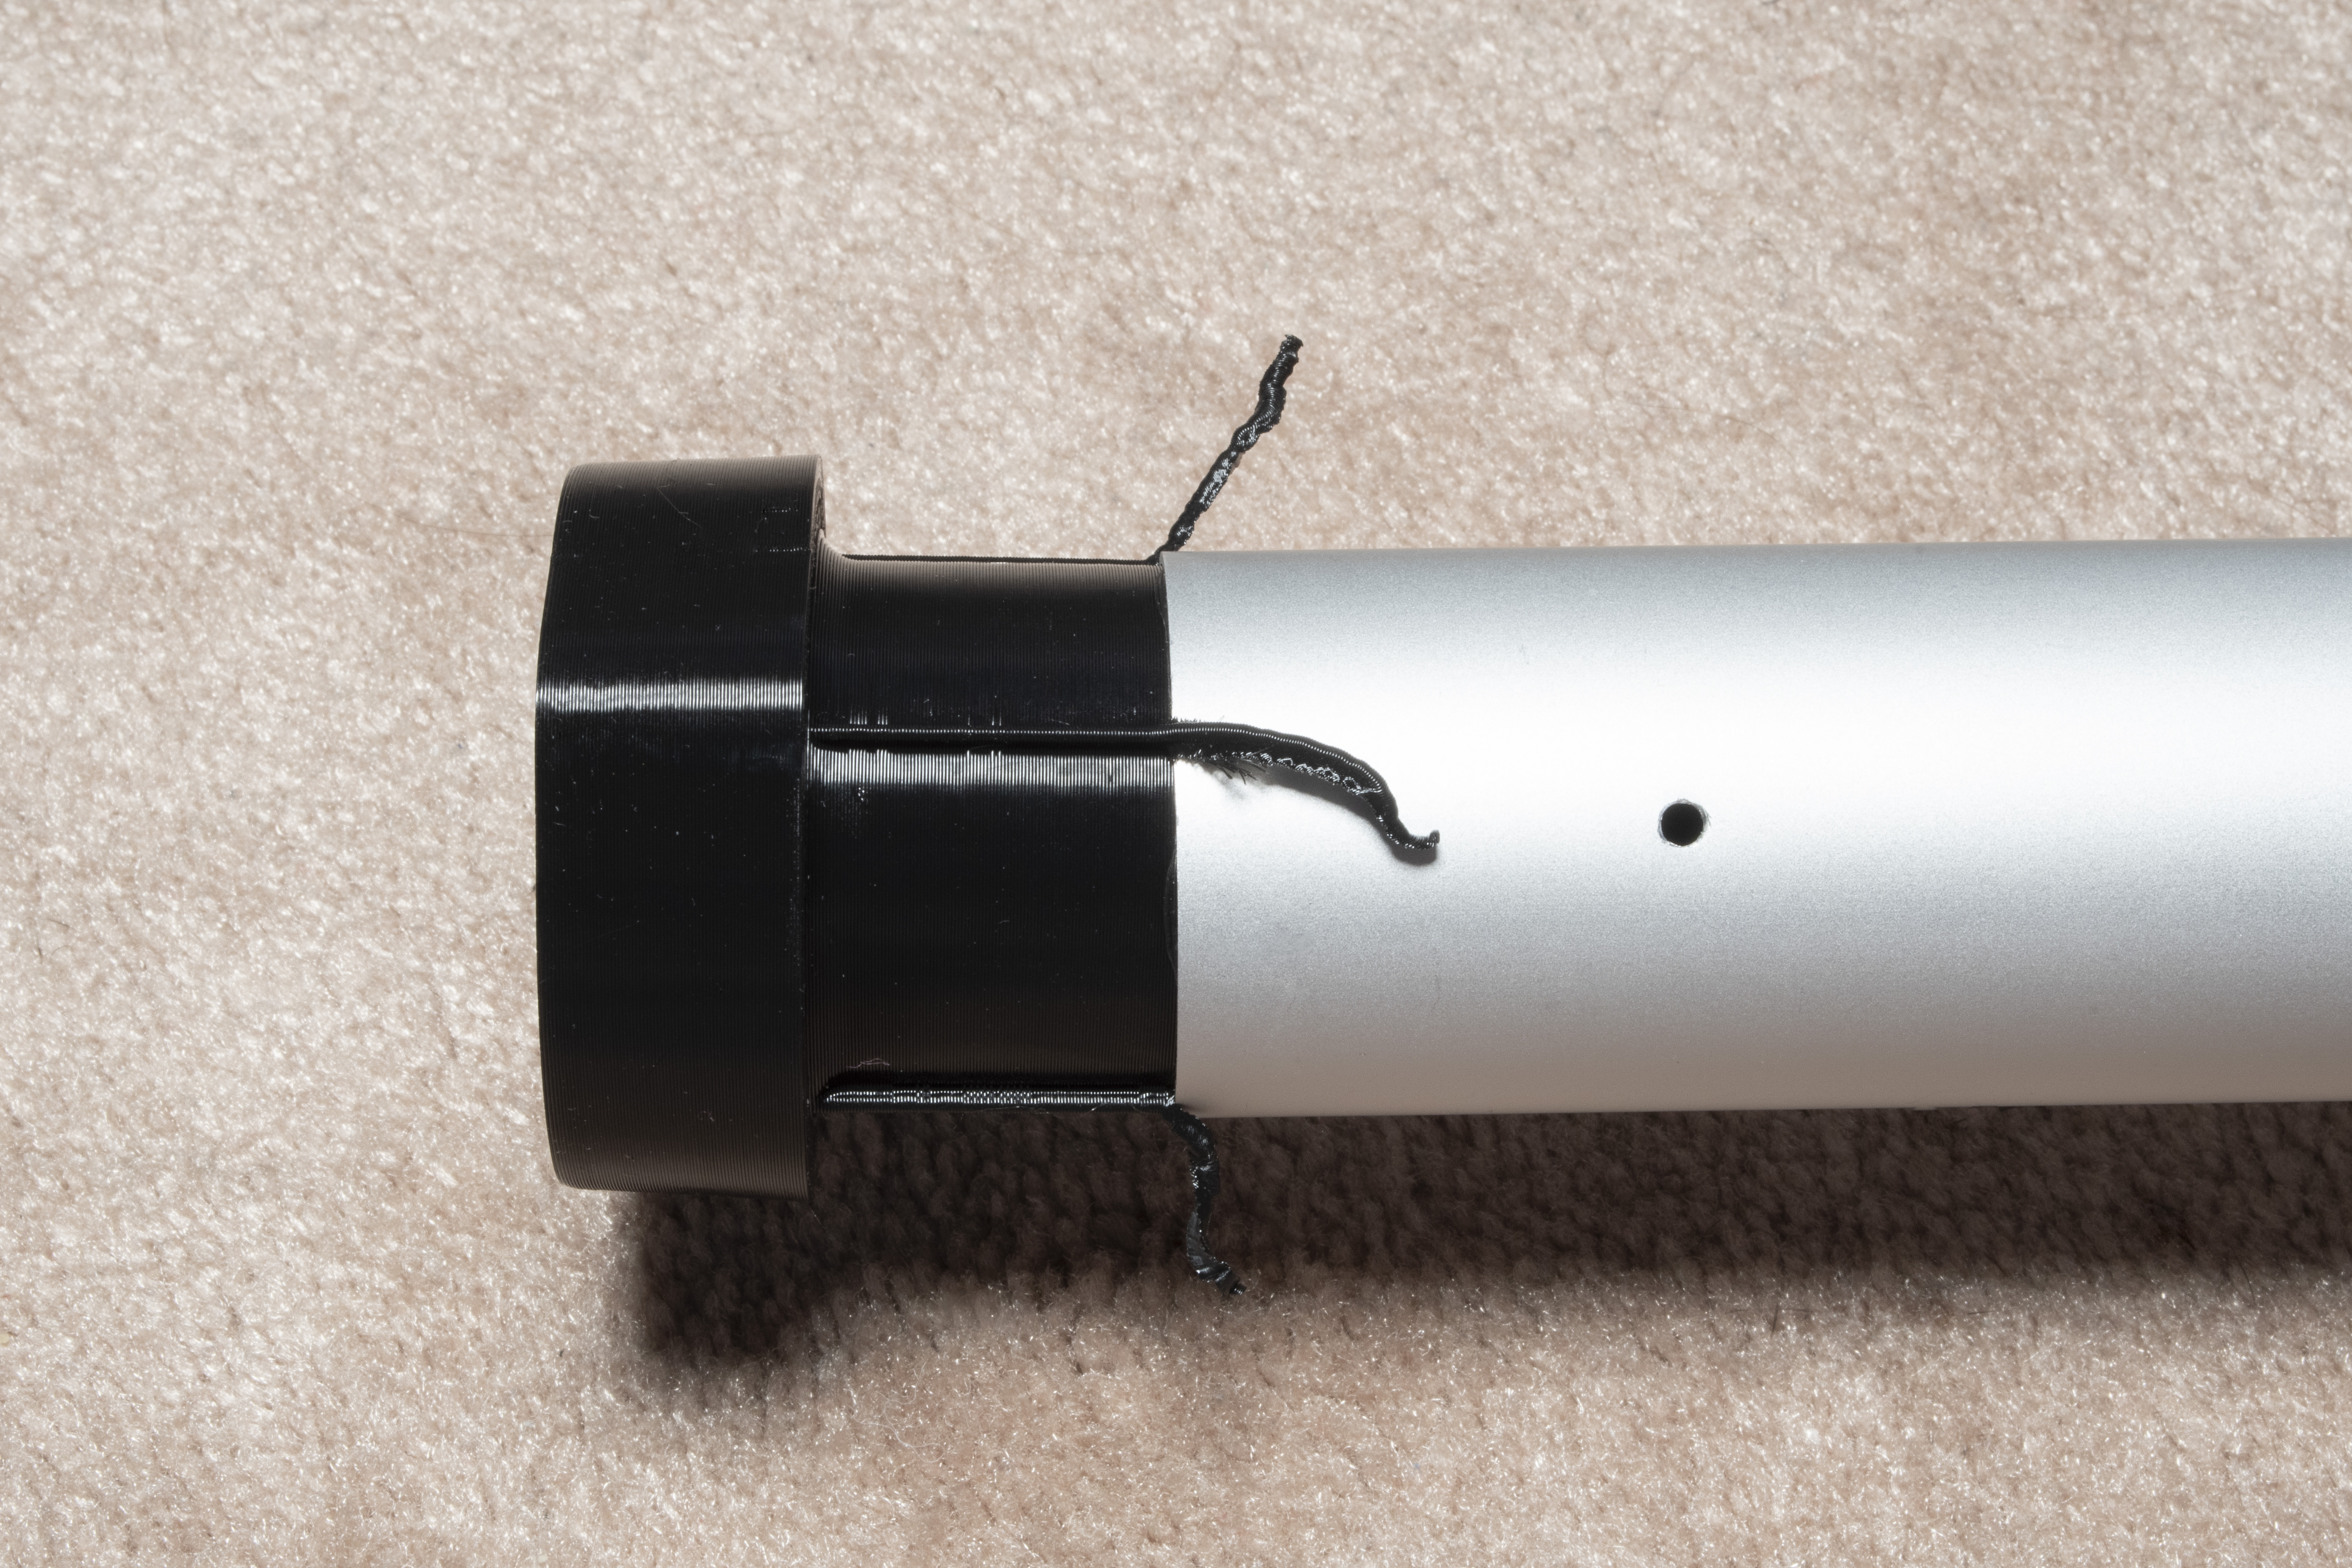
Trim the plastic off with a pair of cutters.
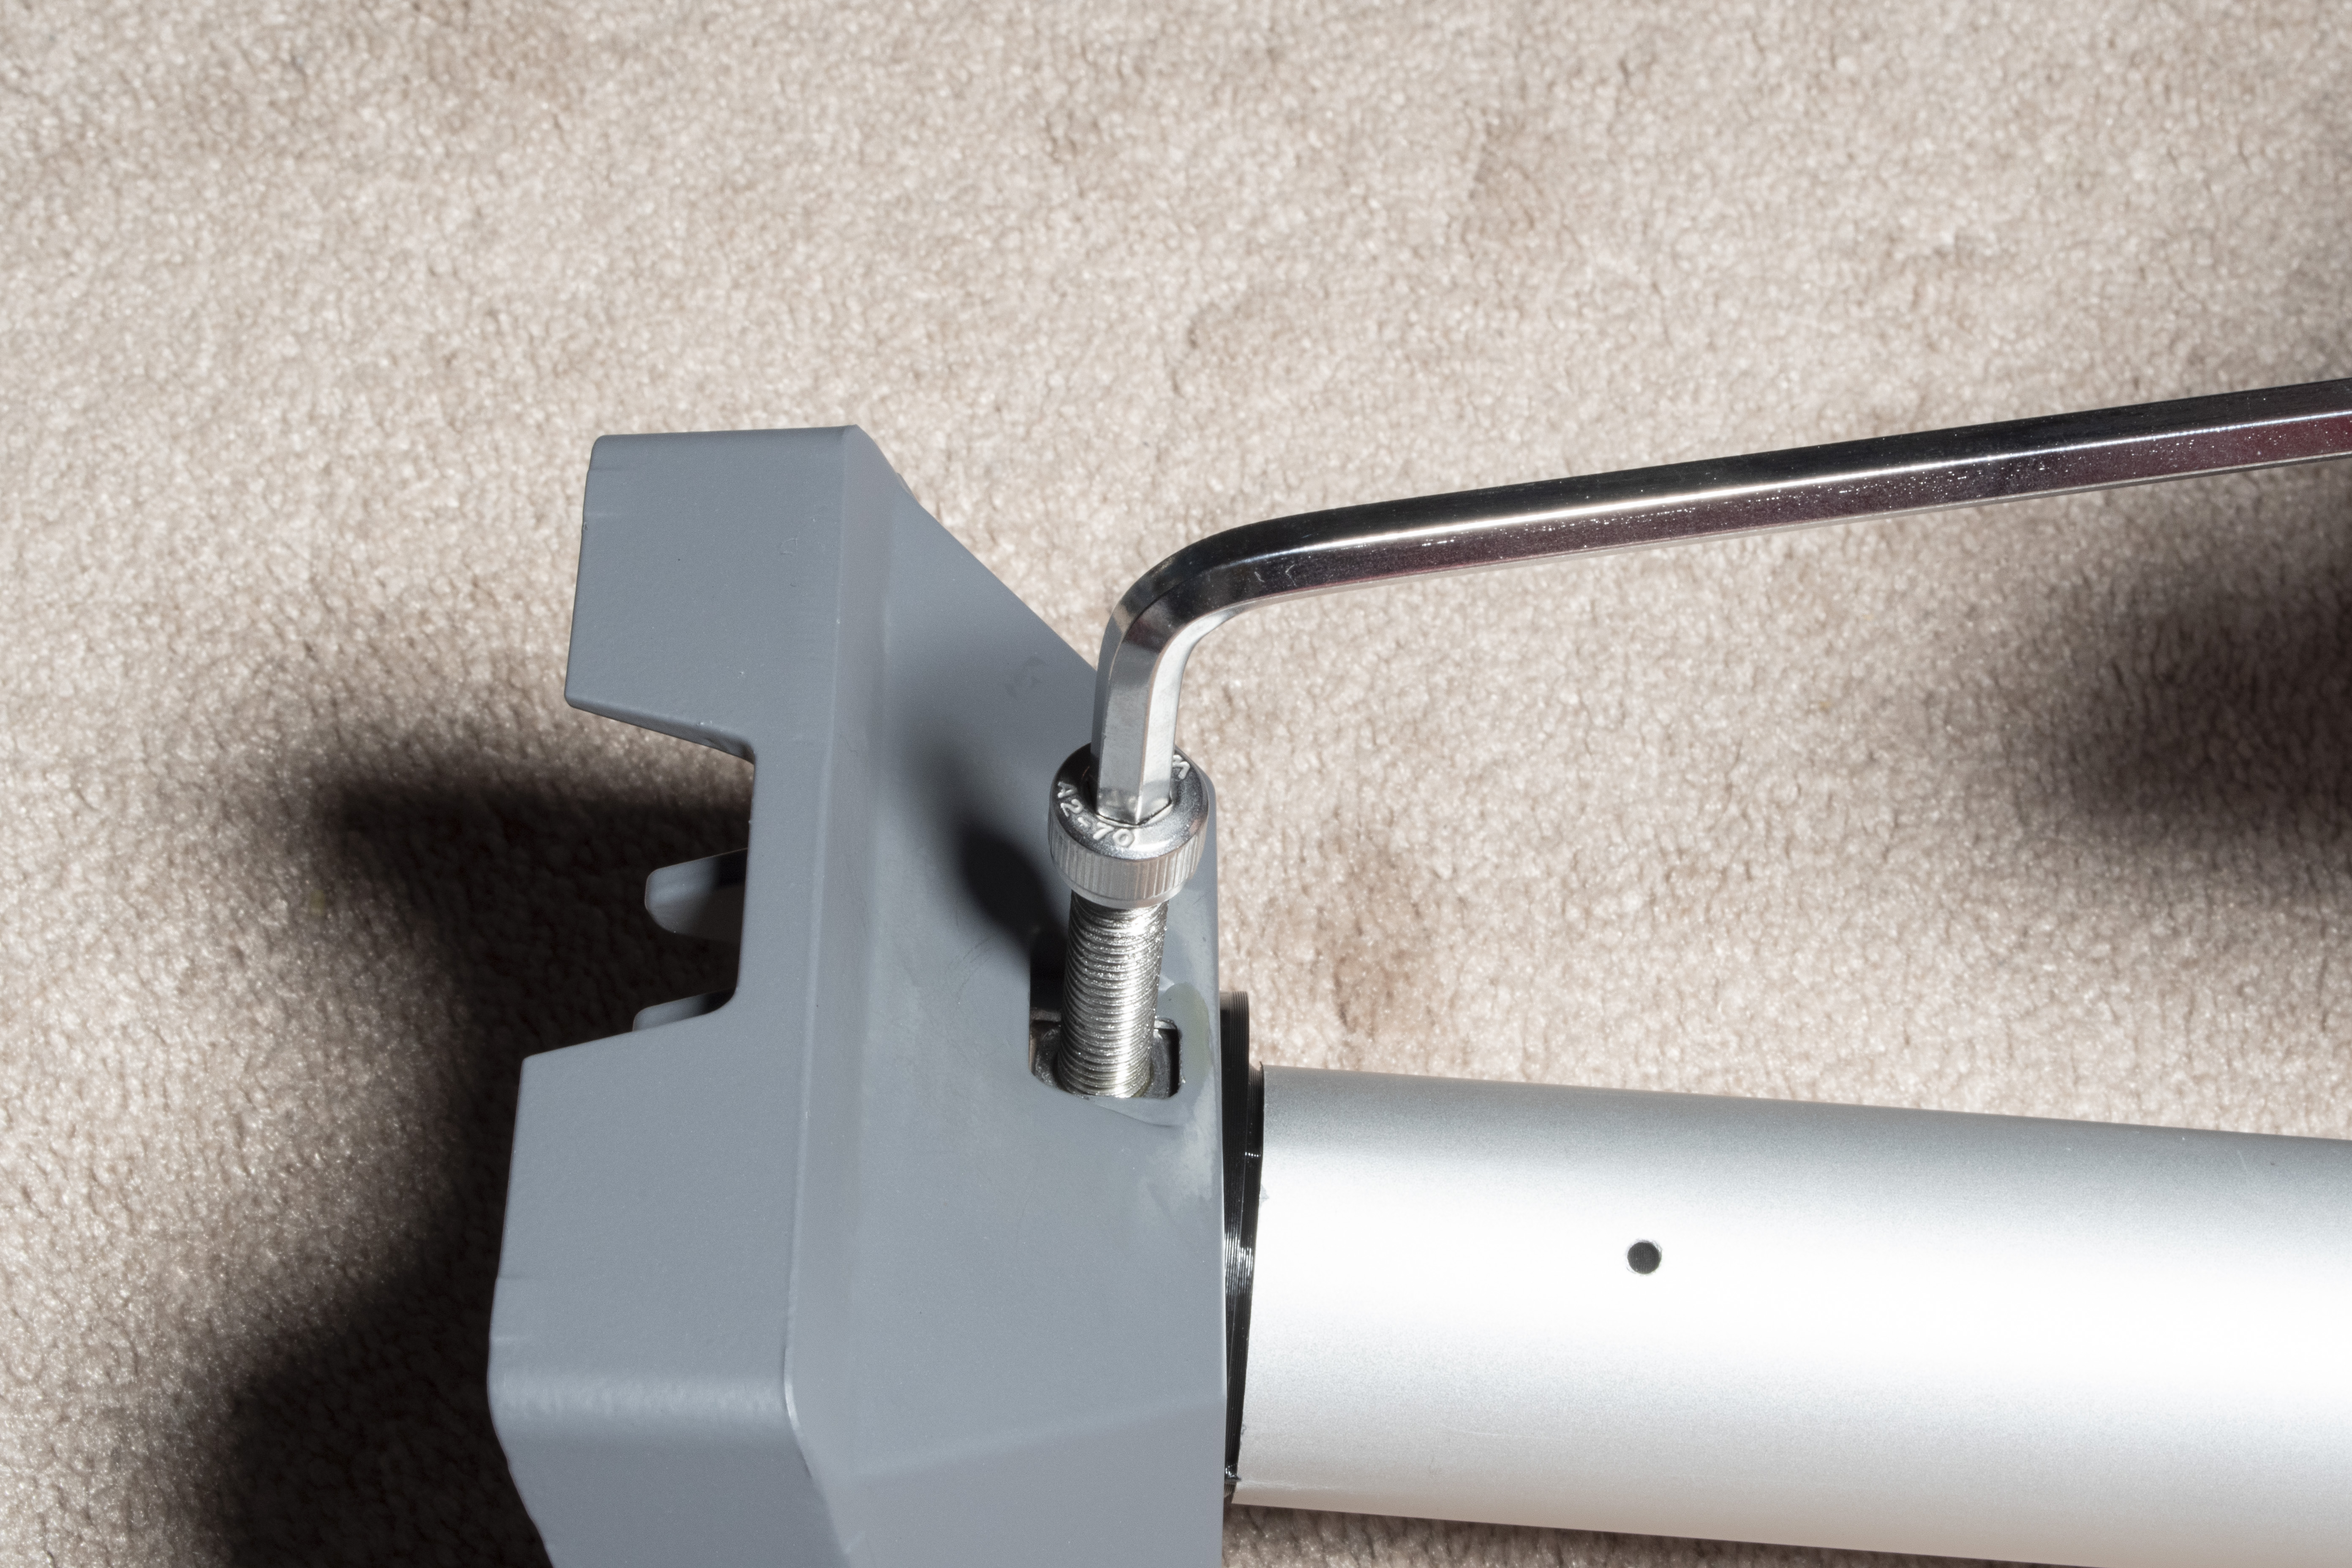
Now we are going to lock the bushing into the pole adapter. Put a drop of oil on the nut at the threads, it can be vegetable oil, motor oil, WD-40, any kind of lubricant. Then take the long Allen wrench out of the package that came with the pole adapter from Starlink, do not worry that the bushing looks crooked prior to installing the screw it will straighten out once the screw is fully bottomed out. It does take a bit of energy to screw this screw in as we are cutting some threads into the bushing to make sure that it locks in place.
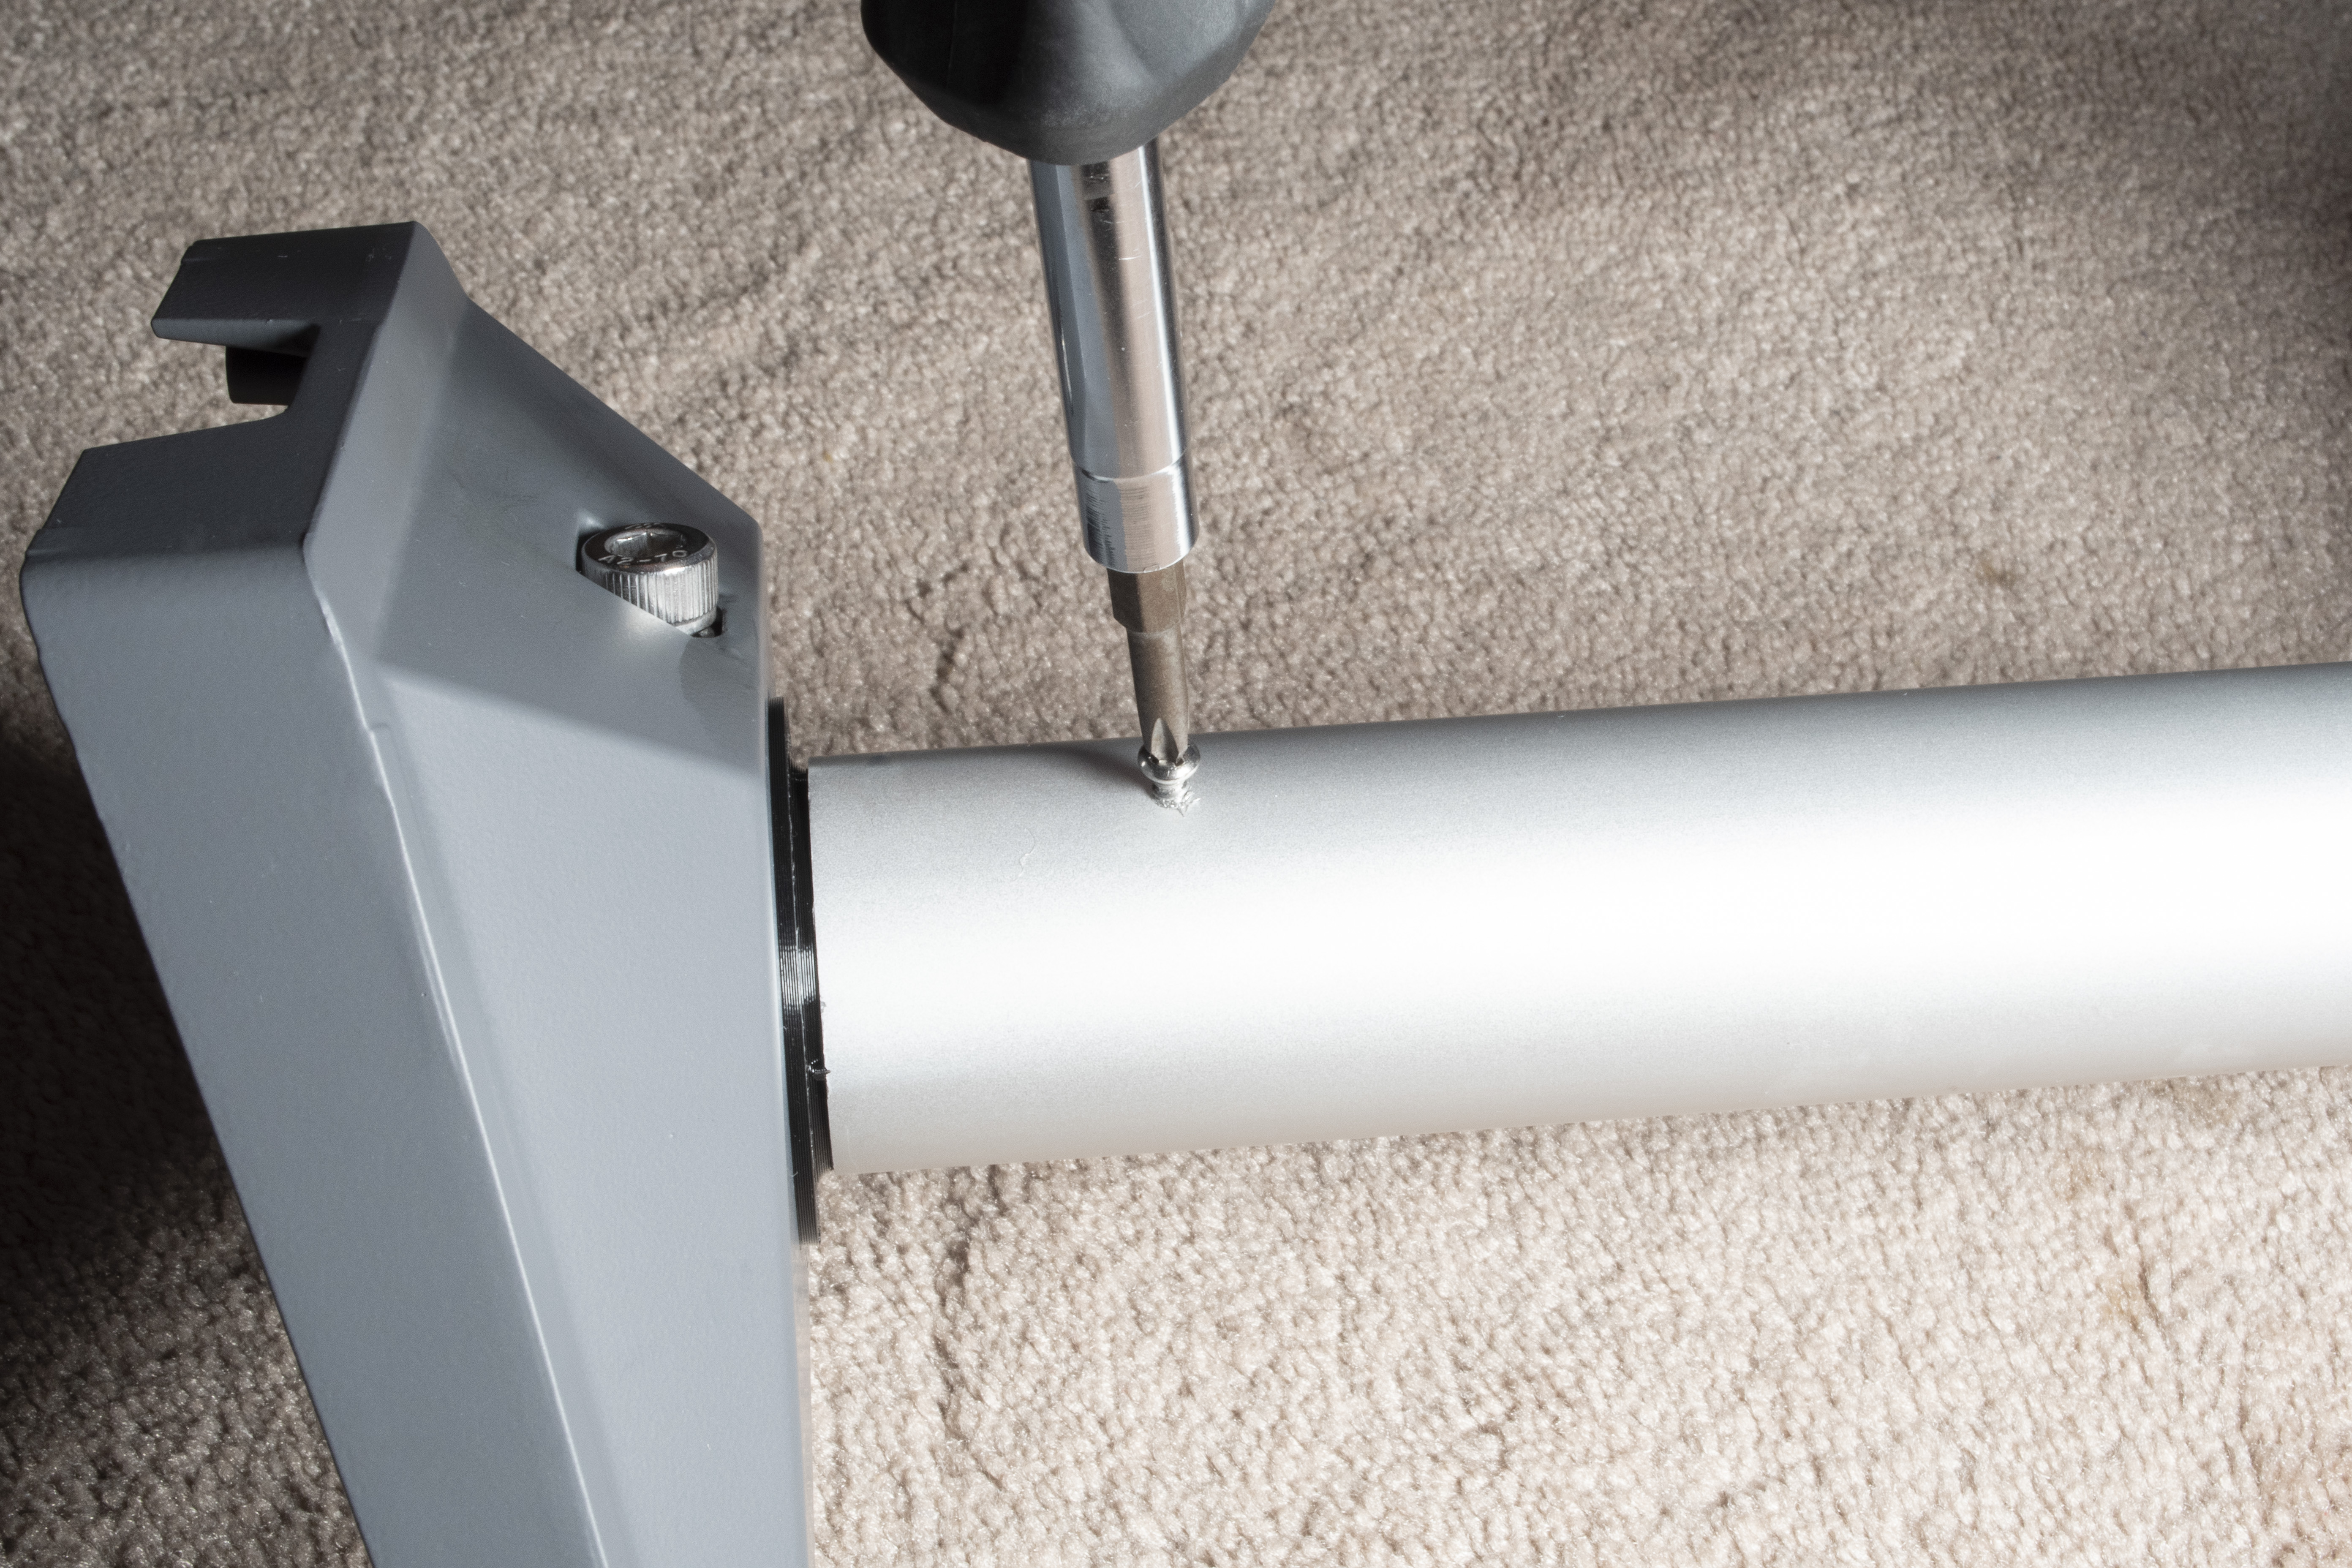
Once the bolt is fully seated install a screw if needed in one of the 2 holes left in the pole. That’s it you’re done. Congratulations. Please note the bushing is not designed to be removed from the pole, although you can remove the large bolt from the pole adapter and separate the flagpole from the pole adapter. I do not recommend doing this repeatedly as the threading seems to gall quite easily. It’s much easier to remove the dish from the pole adapter itself.