Step By Step Install (please note if you have done other bushing installs in the past especially ones from me, the steps are different this time. This will be significantly easier if two people are doing this)
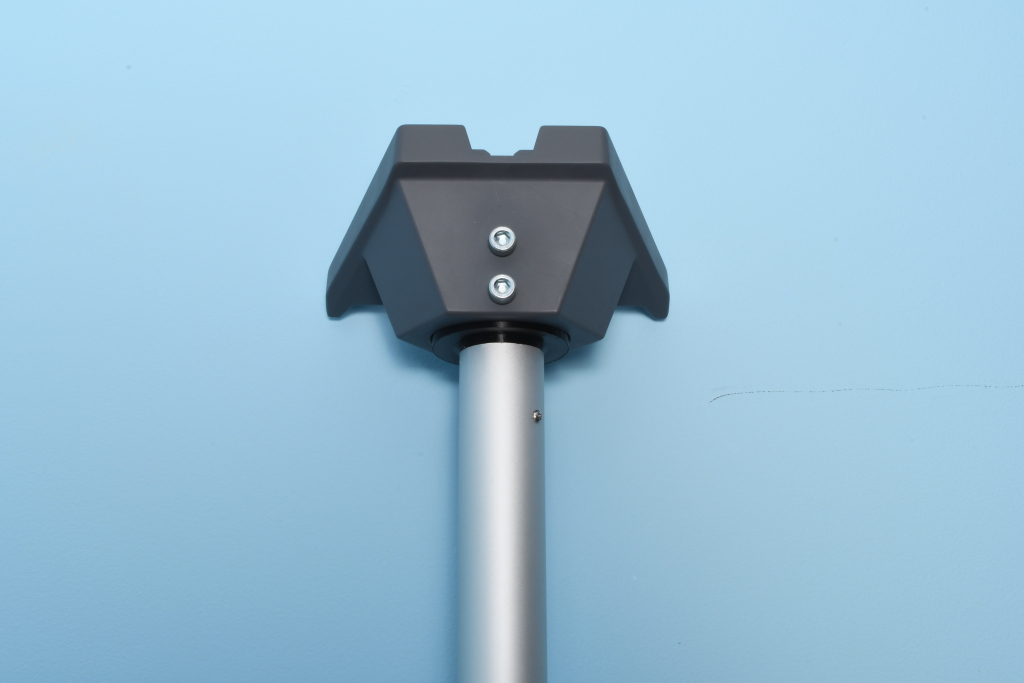
Remove everything on top. Pole may look different, but the steps are the same.
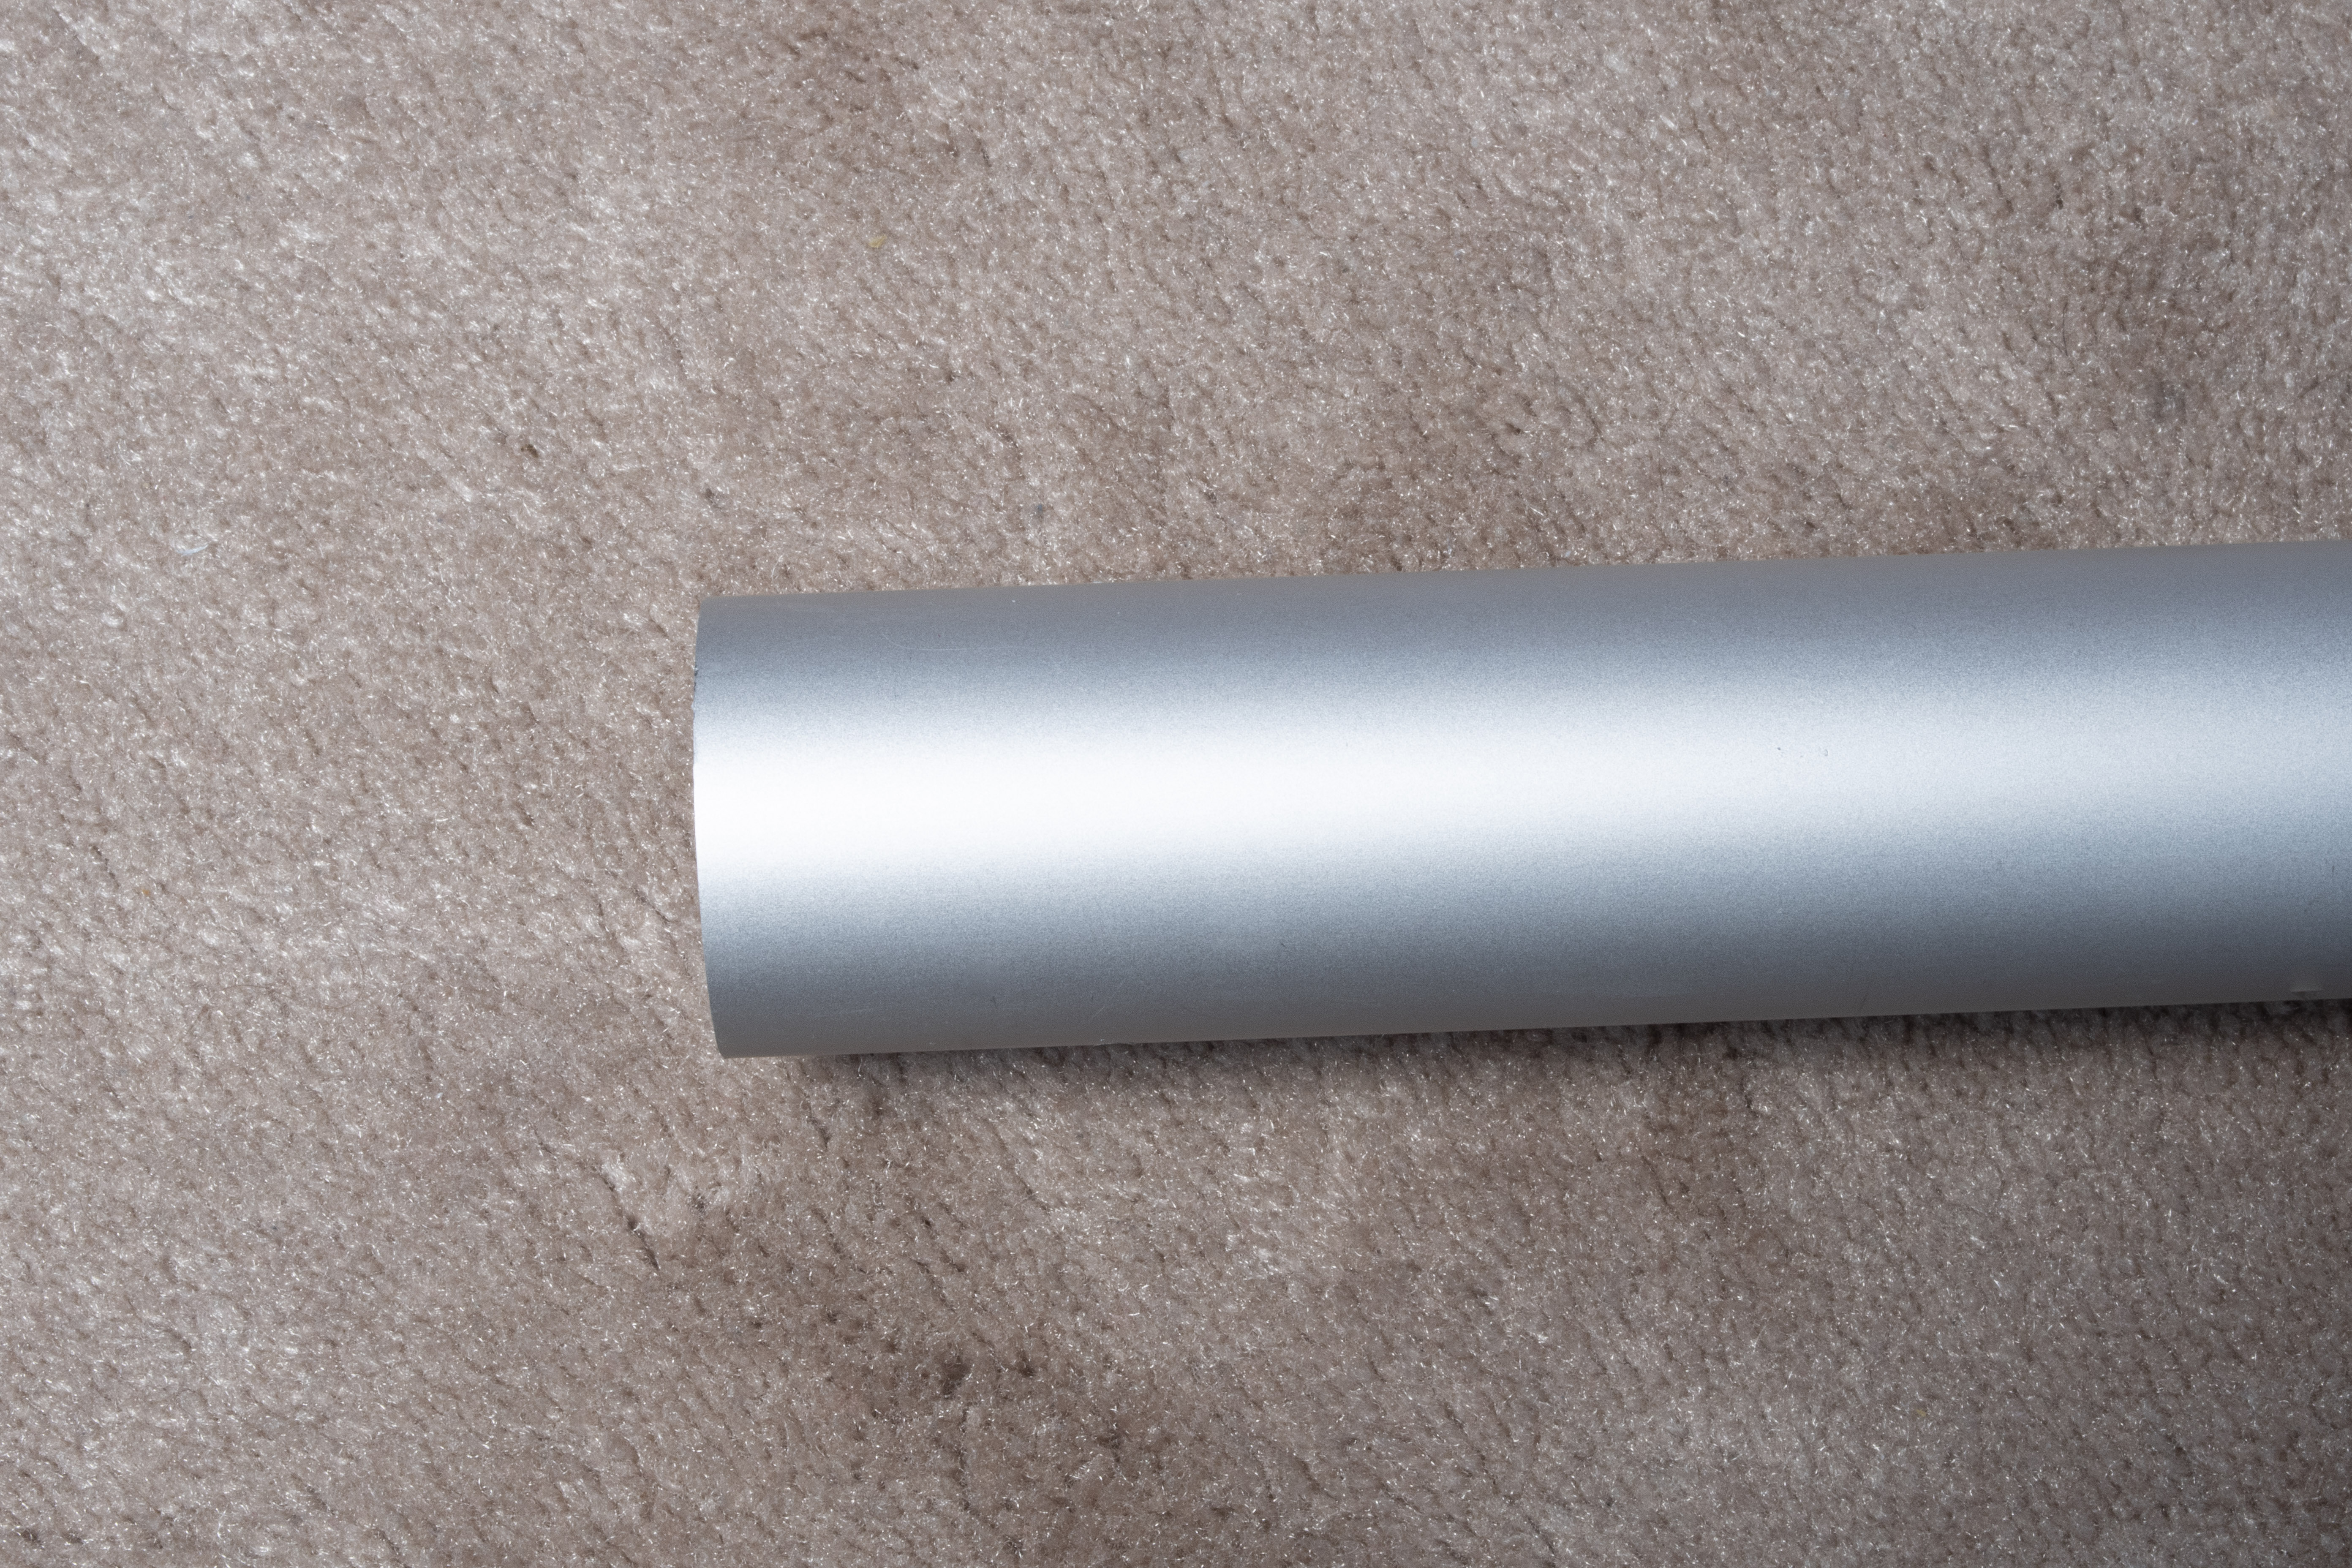
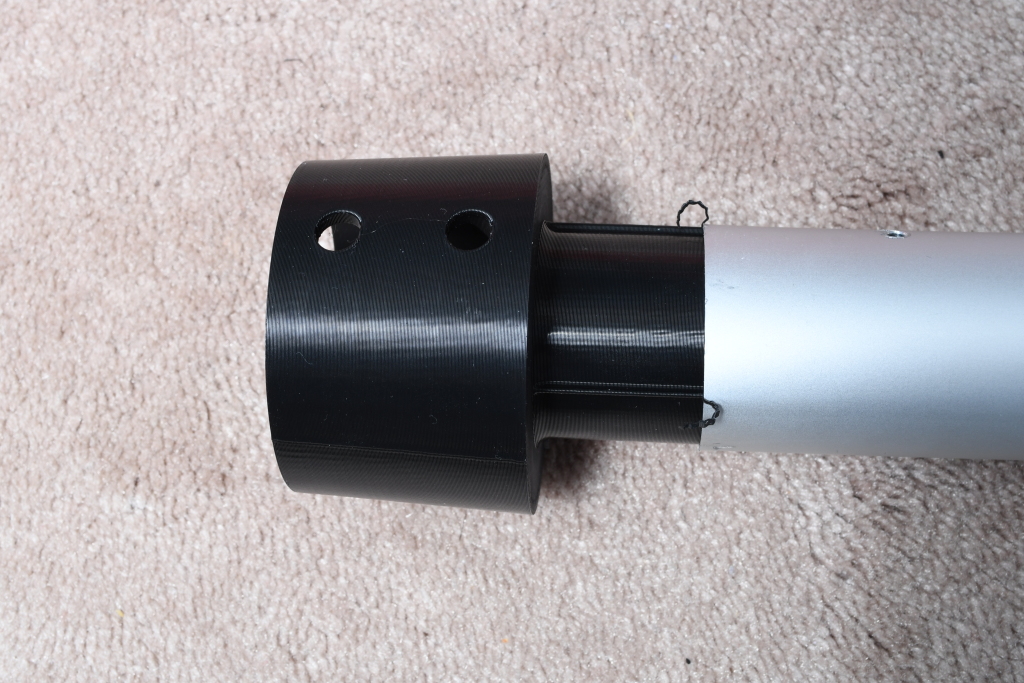
Line up the bushing with the pole making sure that you are straight as possible. You are going to lightly tap the bushing with a rubber mallet until you have just started to cut the plastic

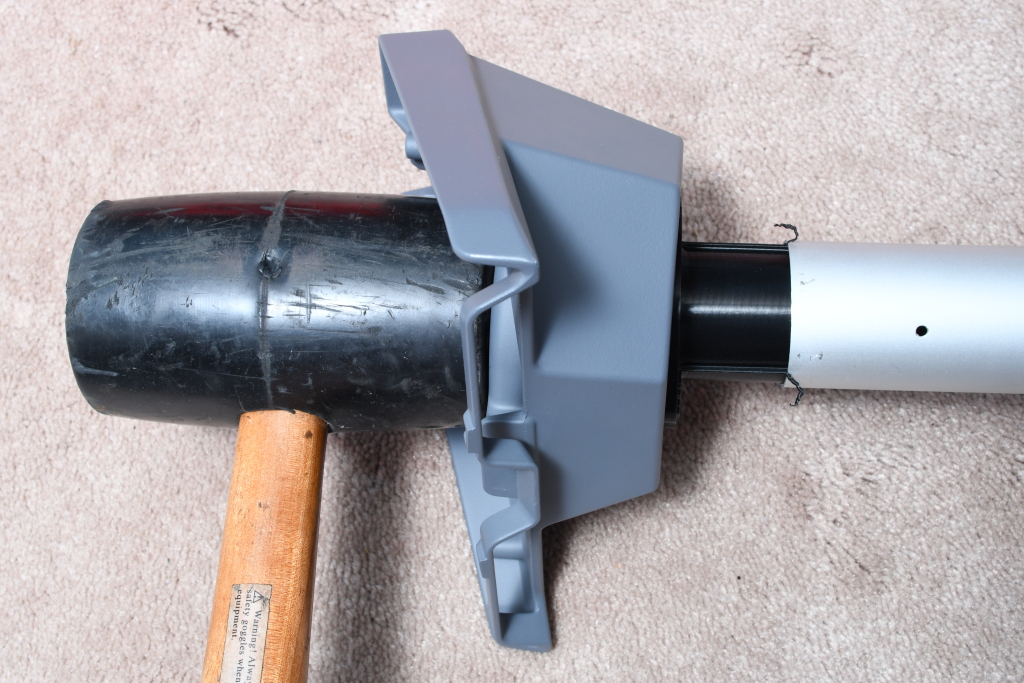
Now take the pole mount adapter from Starlink and remove the 2 bolts if they haven’t already been removed. Place it over the plastic bushing and we are going to hammer from the backside of the Starlink metal plate with a rubber hammer. This is generally where you need two people. DO NOT HAMMER DIRECTLY ON THE BUSHING. This can crack it and is not grounds for replacement. Smaller hits are better and the bushing will seat, TAKE YOUR TIME. Make sure the metal pole adapter is firmly against the bushing, do not let it bounce on the bushing.
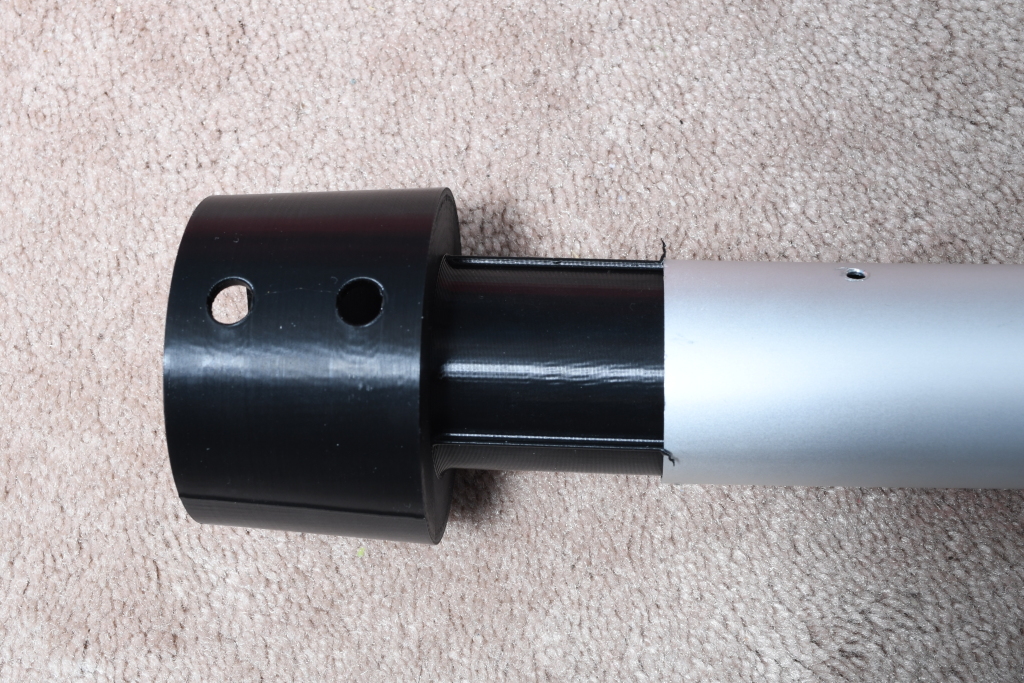
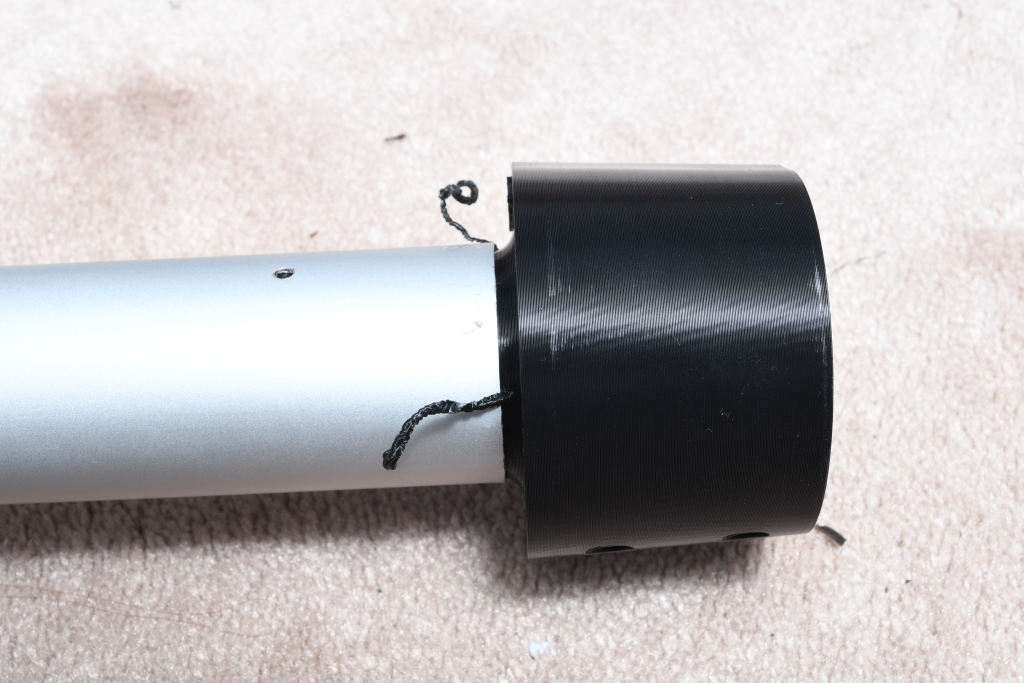
Just hammer the bushing in, taking your time to make sure that everything is going straight and that the ridges are being cut off cleanly and evenly on the bushing. You’re not going to bottom this out, you are going to stop when there are almost no ridges left as shown in the second photo below.
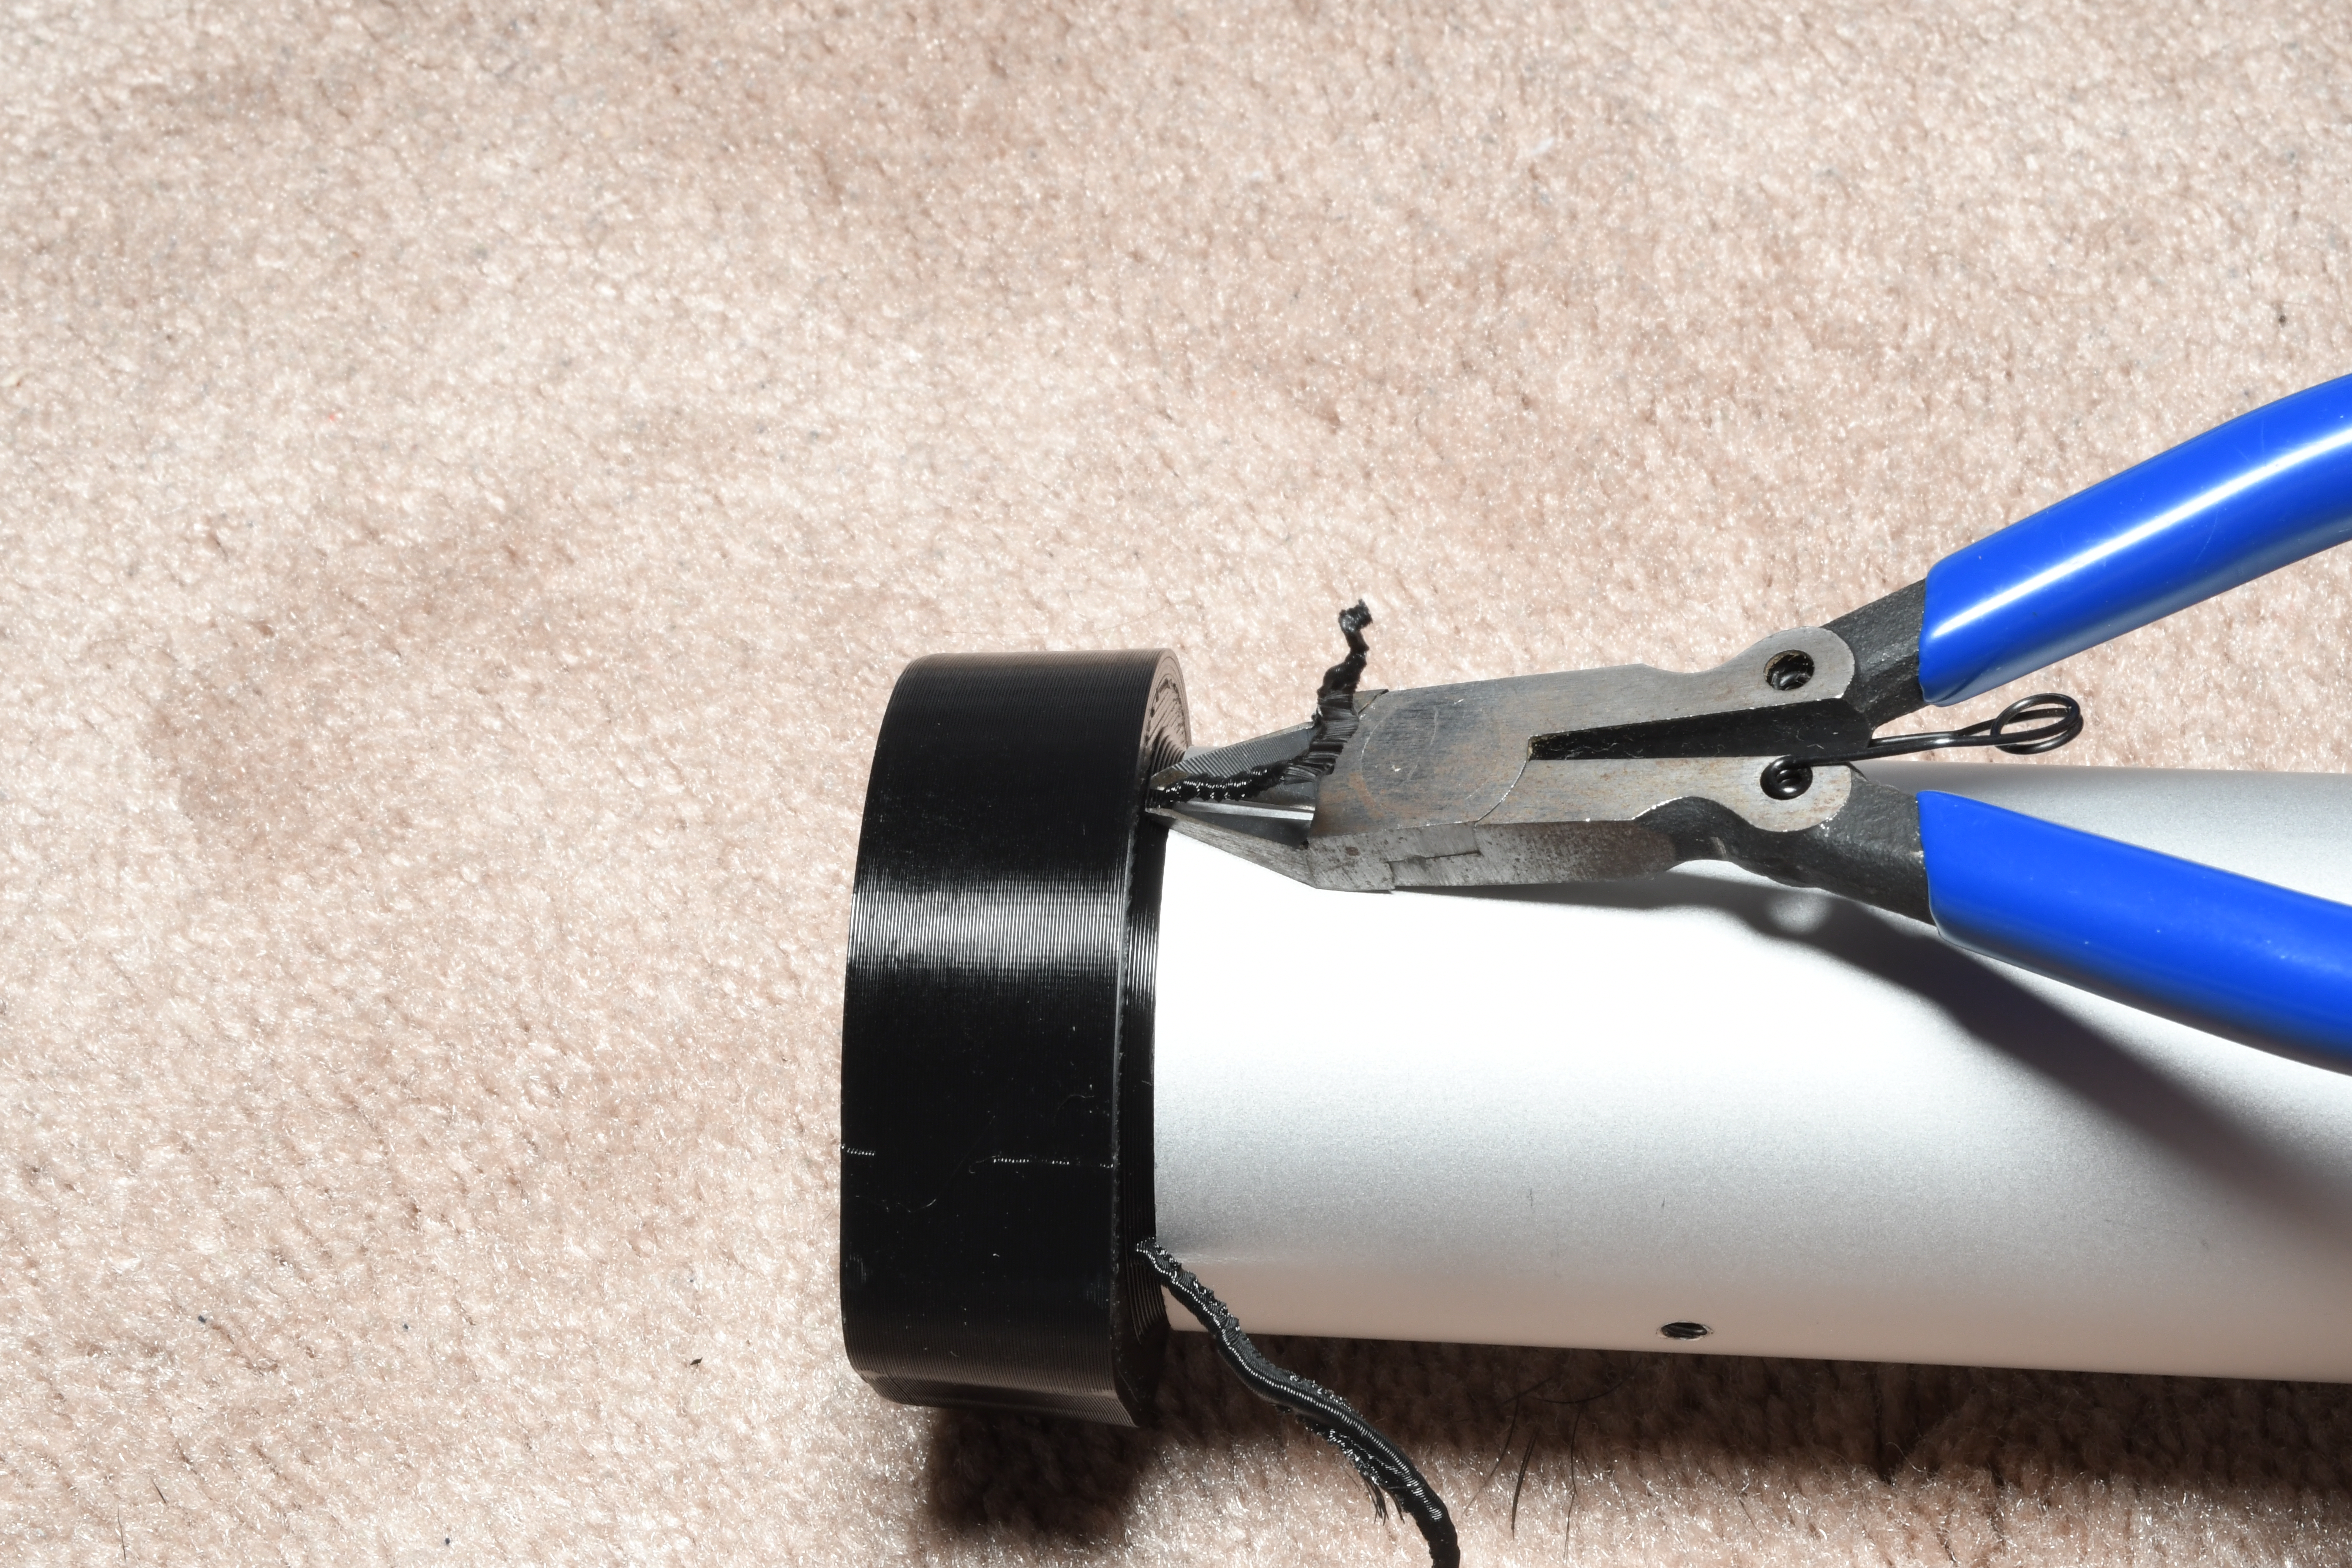
Trim the plastic off with a pair of cutters.
Now we are going to lock the bushing into the pole adapter. Simply run the screws in. Once you feel resistance stop and turn it 1/4 turn more, you do not need to tighten much at all. This will force the bushing to distort slightly and lock into the other side of the pole mount giving it a very secure fit.
That’s it you’re done. Congratulations. Please note the bushing is not designed to be removed from the pole, although you can remove the screws and separate it from the pole adapter.